
The table in our trailer is a really important piece, it's essential for living and running a business from the road. It's where we work, eat and at the end of the day when it drops down to form a bed - sleep.
The table that came with our trailer had been cut down at some point, making it way too small for our purposes and also annoying to convert into a bed, because it needed an added insert to support the mattress. We played with the idea of inserting dowels and trying to attach the cut pieces back together but we didn't trust it would hold up to the wear and tear we would put it through.
We decided to start from scratch and build a new table all together, keeping the same shape. We bought a piece of MDF, of a similar thickness and weight, and had it cut to size at the hardware store.
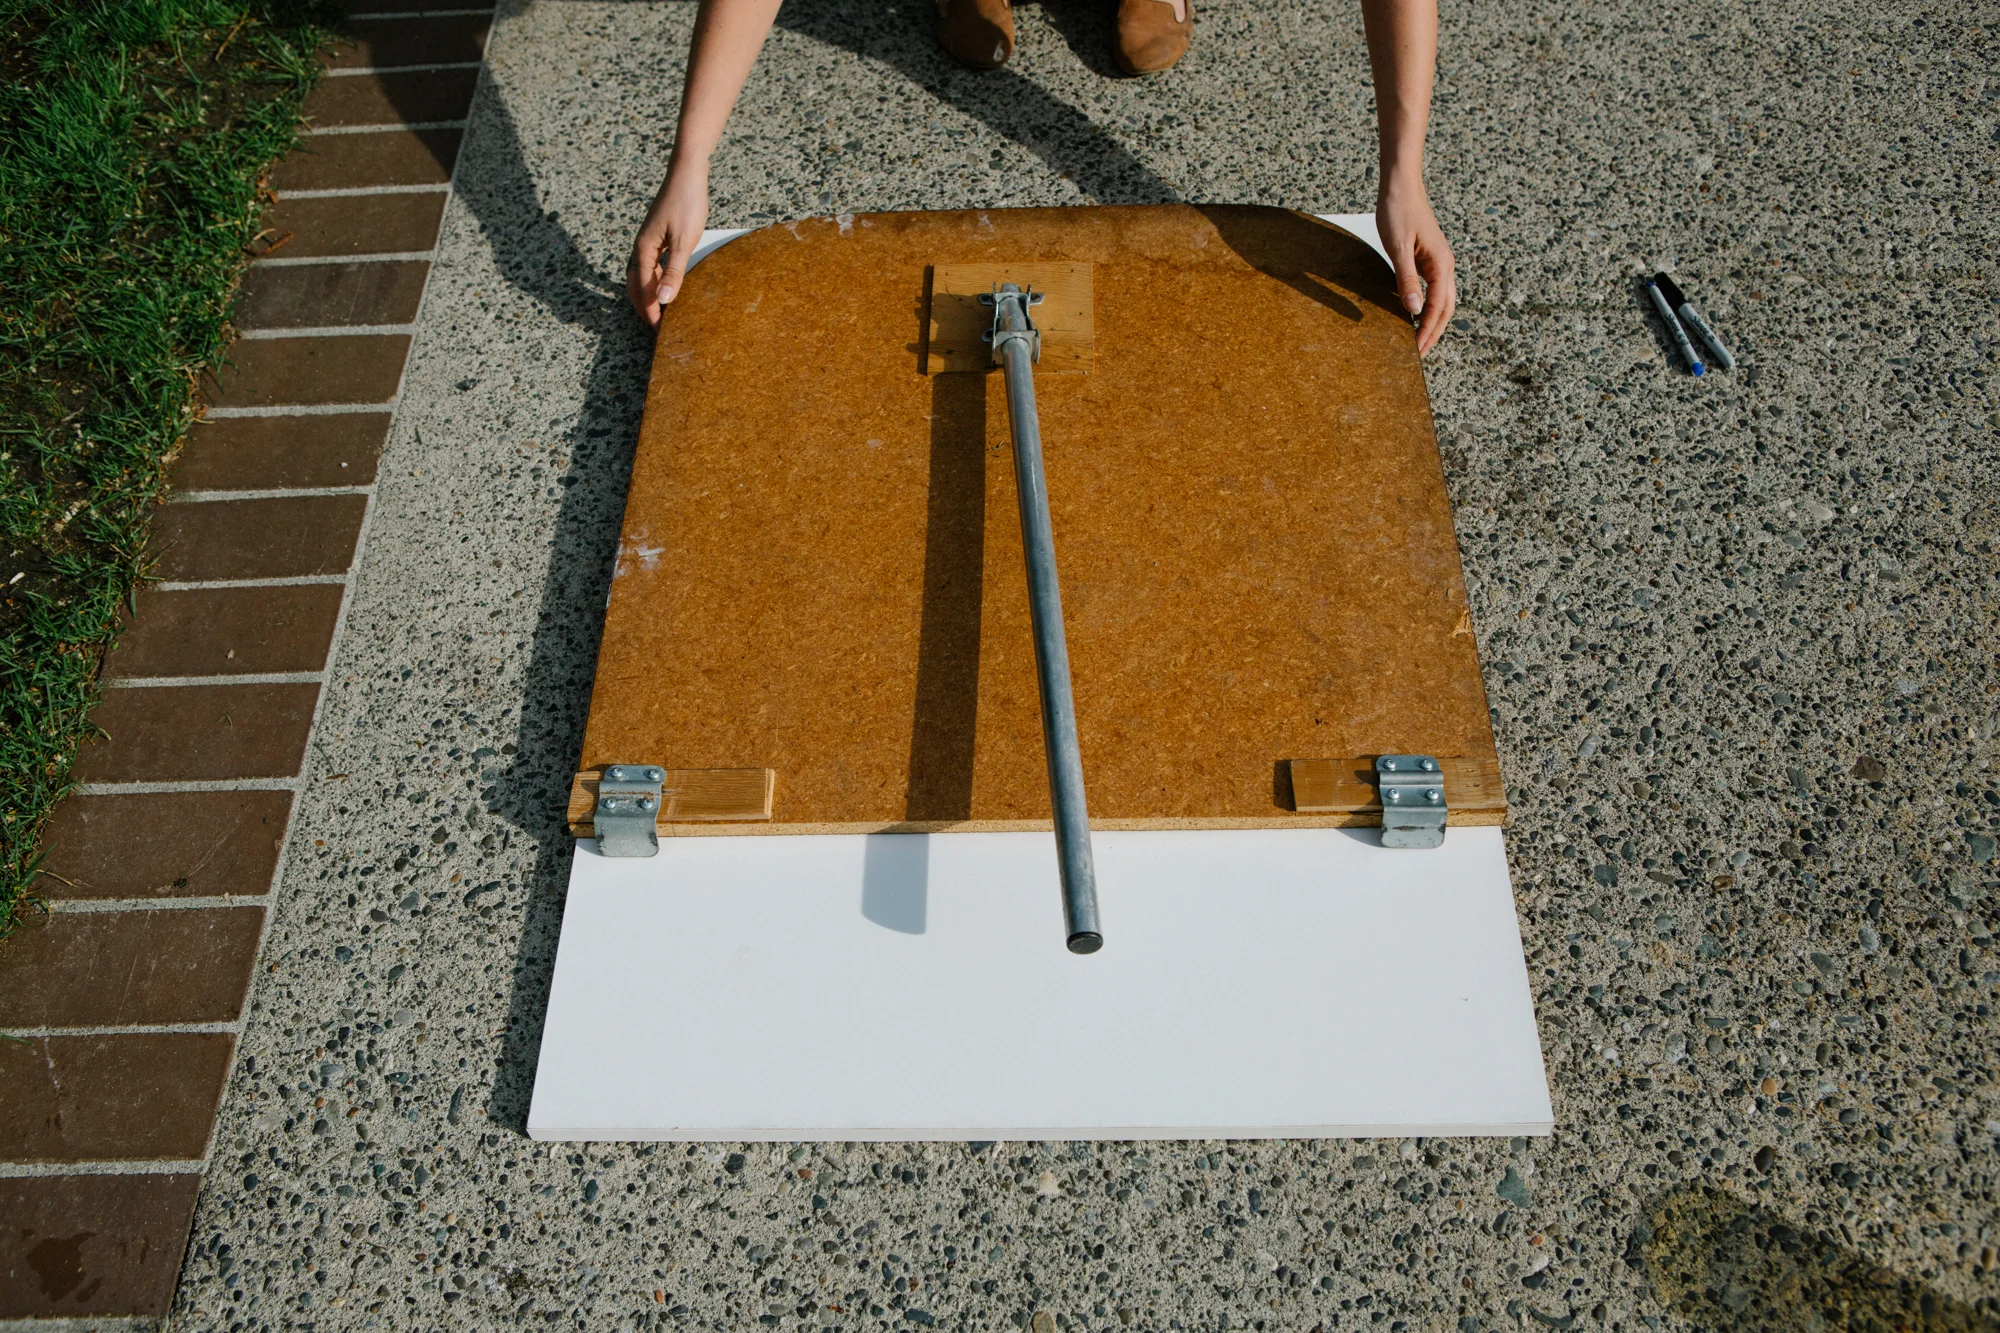
We used the original table as a guide to trace the corners, we wanted to keep the rounded edges and overall dimensions of the original so this made the most sense.
Once outlined we took a jig saw to the edges and cut as smooth an edge as possible.
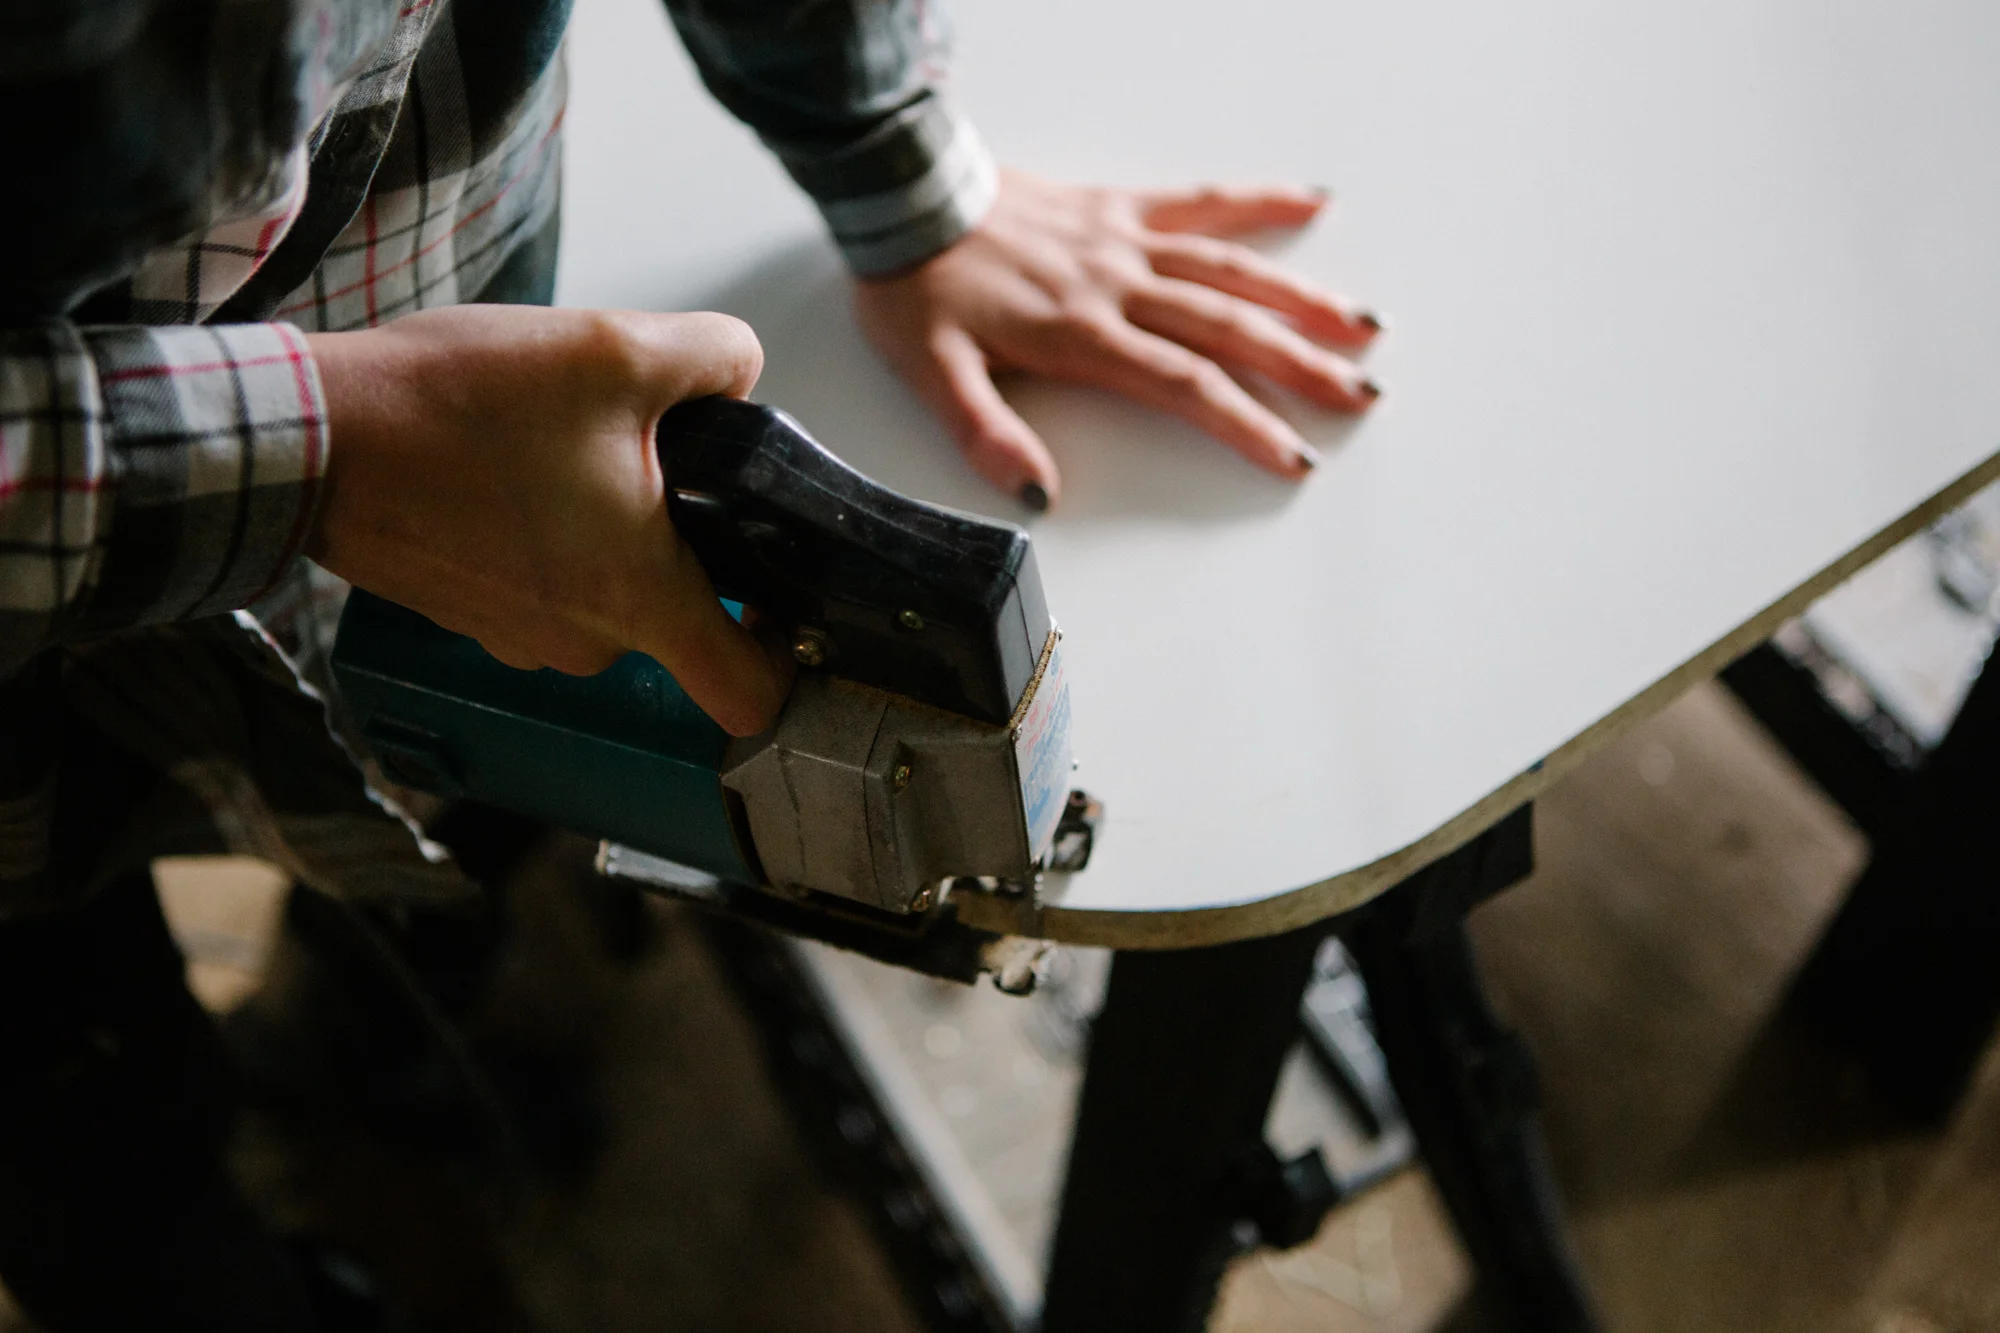
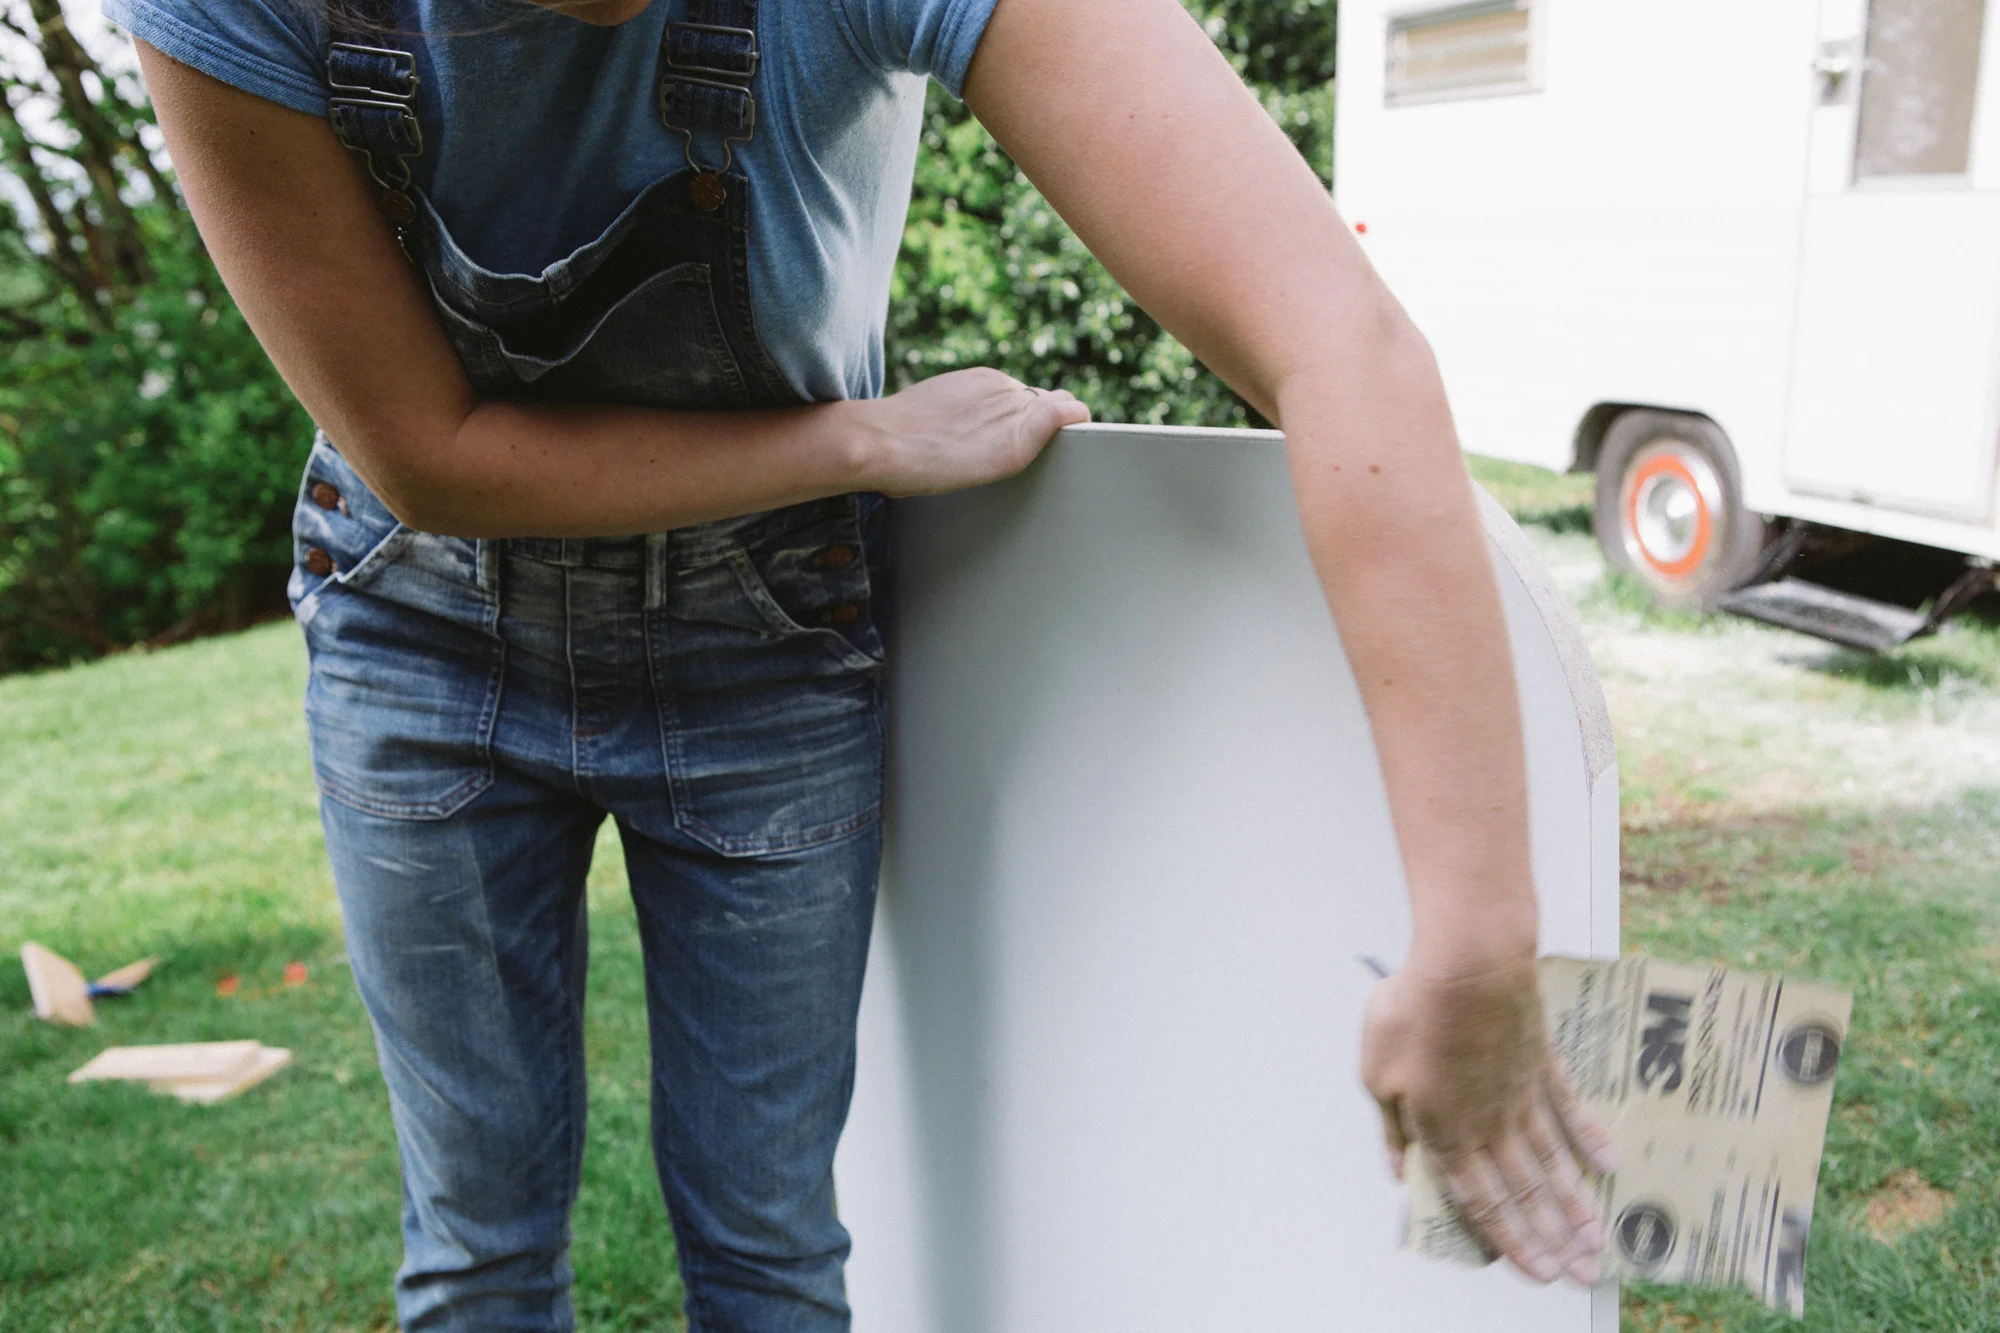
Once cut we sanded the crap out of the edges to make them smooth and even, this would allow for the trim to sit flush against the edge once we were ready to put it on.
We had seen several tutorials on line for concrete finishes using Ardex feather finish and we knew that was the look we wanted but again, didn't trust that it would hold up to constant use (abuse). Keep in mind this thing gets dropped down every night to be slept on and the trailer vibrates and flexes a lot while it tows.
We researched our options and, reluctantly, decided we would attempt a faux finish. We were resisting this idea super hard for a long time, scared of it turning out like someone's friend's mom's sponged painted Tuscan living room from 1996.
We started with a simple grey chalk paint, we couldn't find one we liked from a major retailer but luckily a small store locally carried their own homemade chalk paint in the perfect grey.
Once the chalk paint was applied we used layers of sidewalk chalk on top, pushing and rubbing it in by hand and then sealing it with a coat of hairspray.
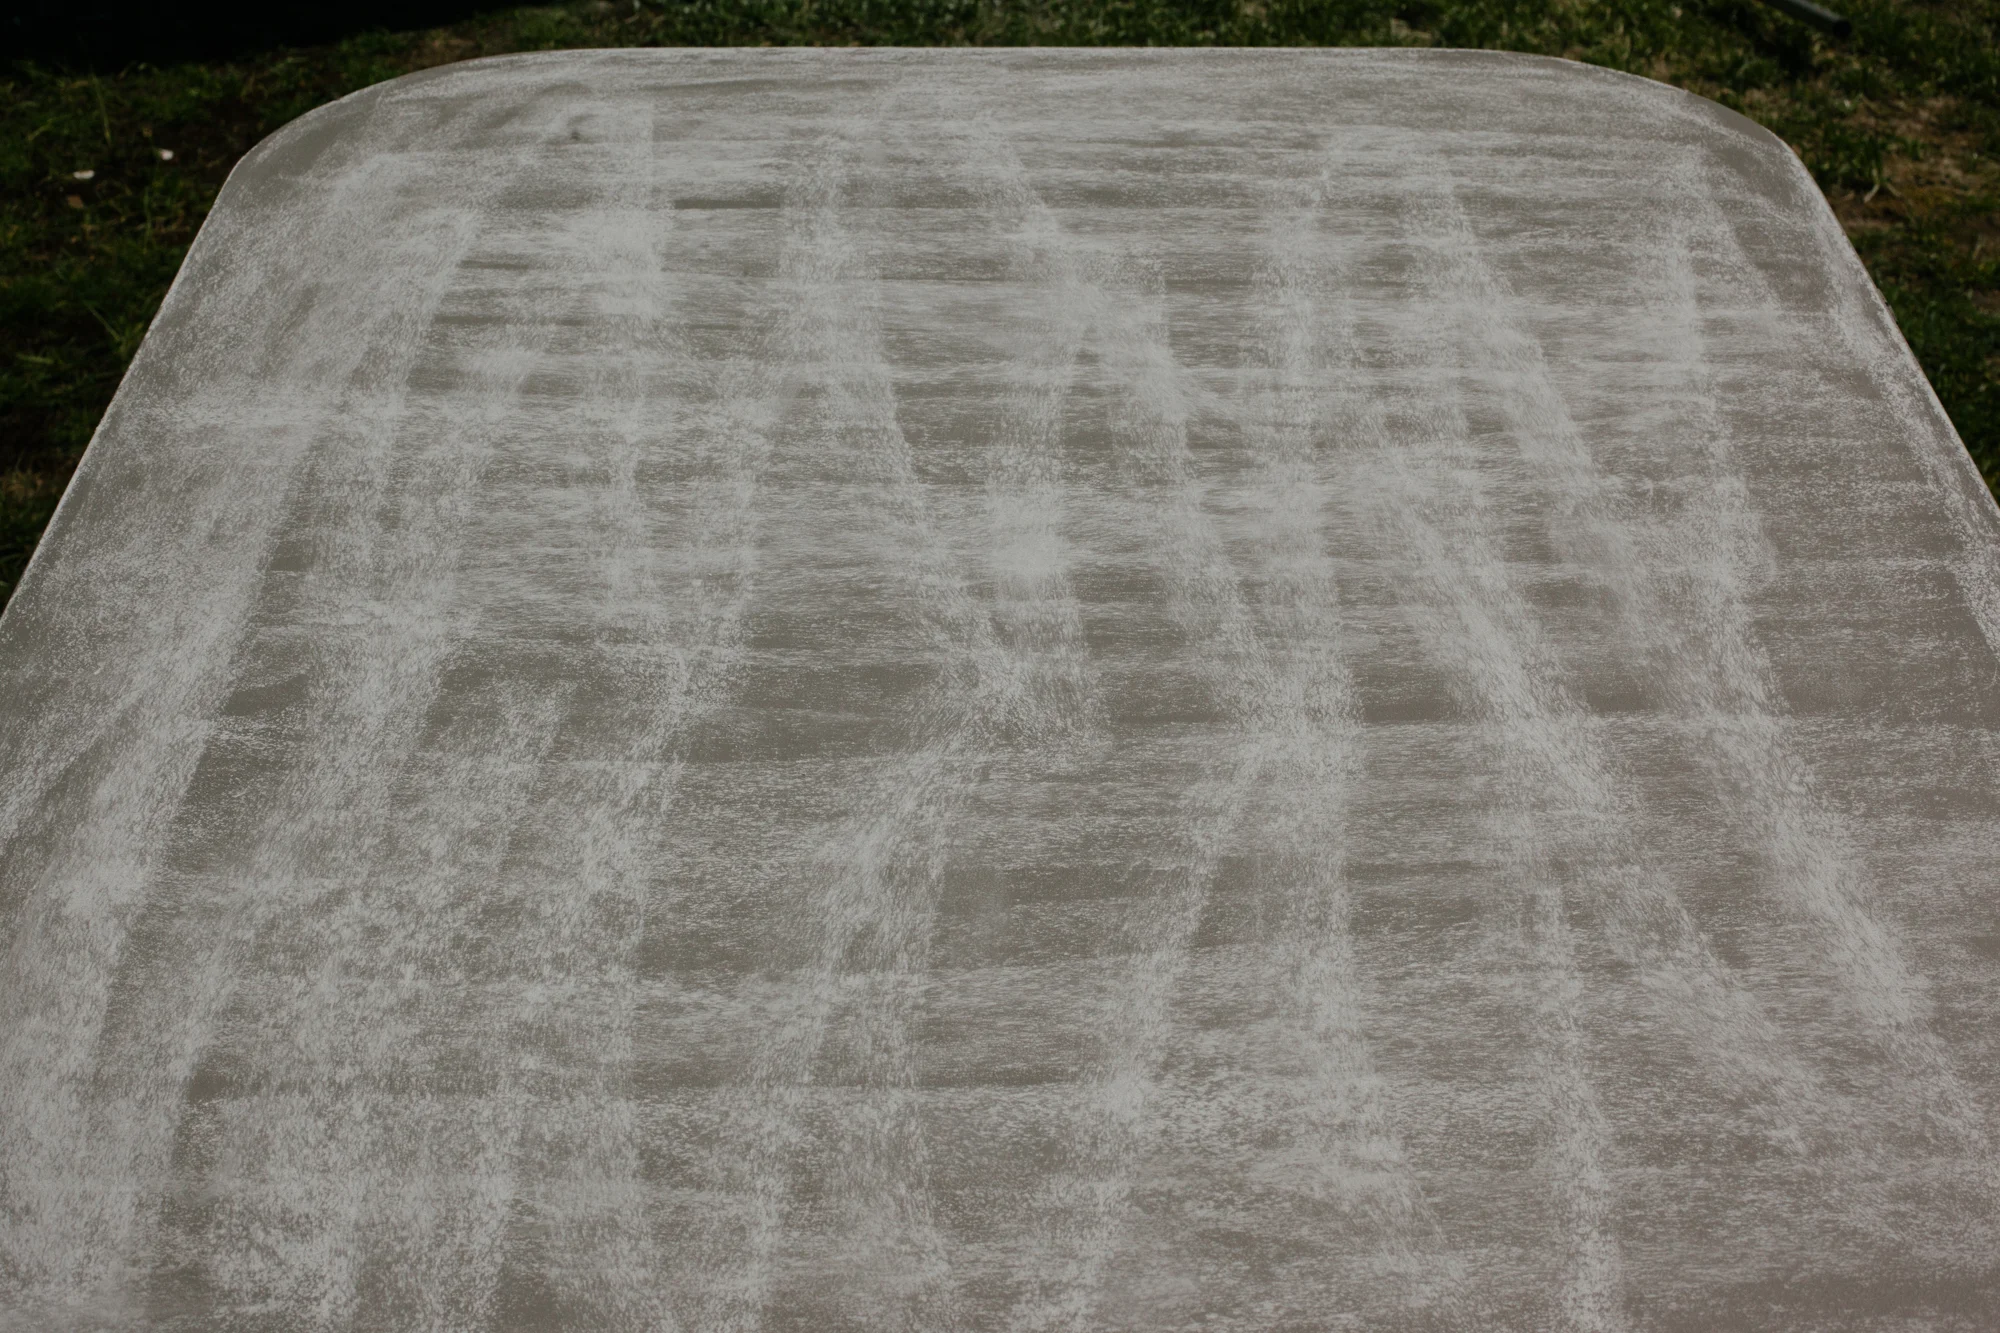
This was working really well at first, unfortunately as soon as we tried to seal the finish all the small detail (the dusty bits) disappeared. This sucked.
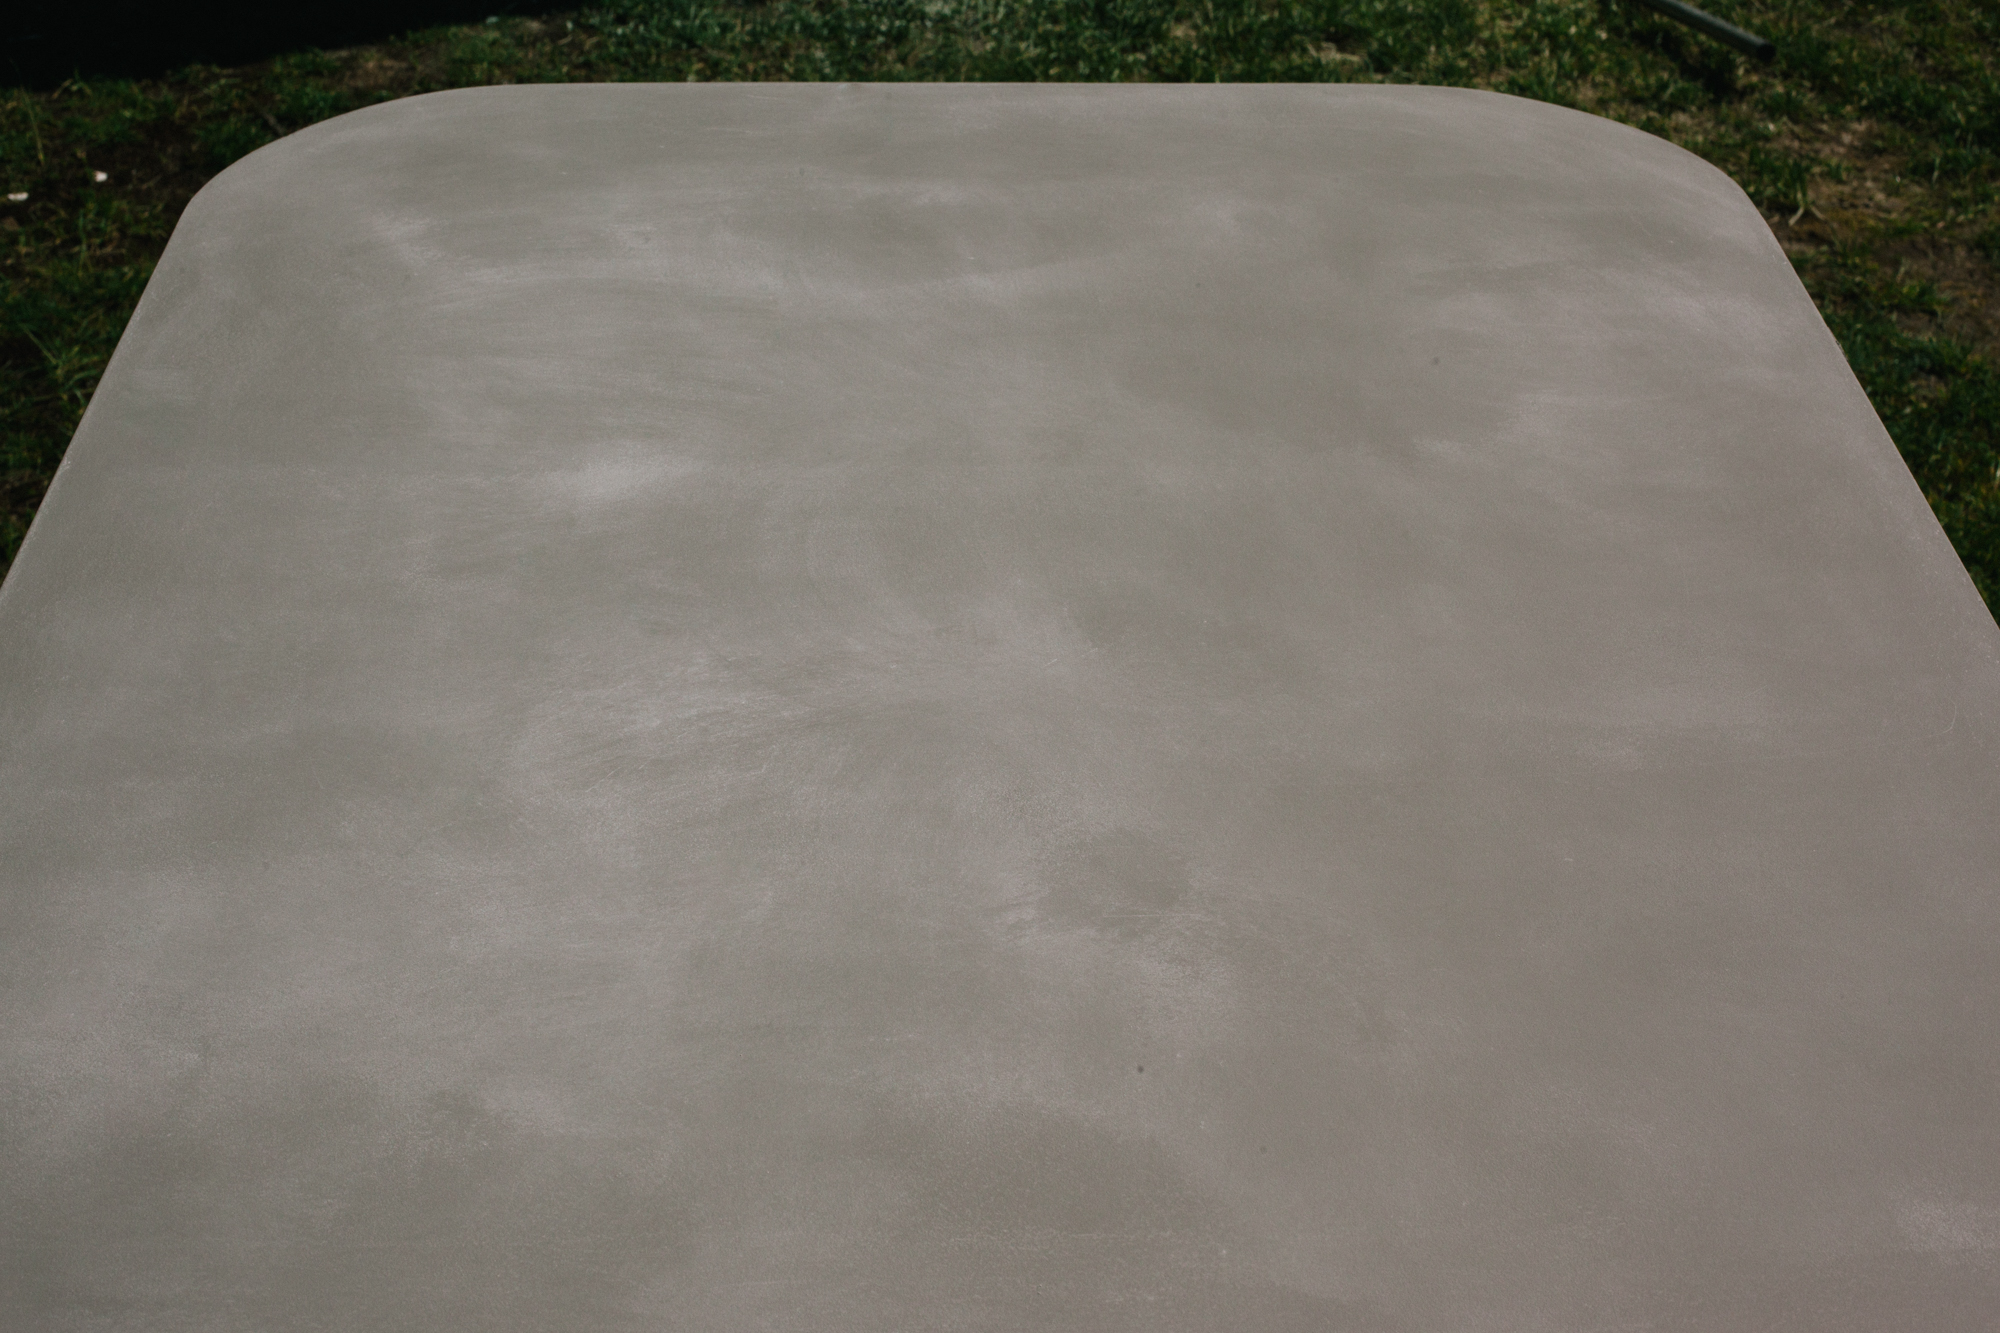
We tried more and more layers of chalk, hairspray, more chalk, more hairspray. This seemed pointless at first, watching it disappear each time but with each layer it was starting to show through a bit more. We must have done over a dozen applications this way.
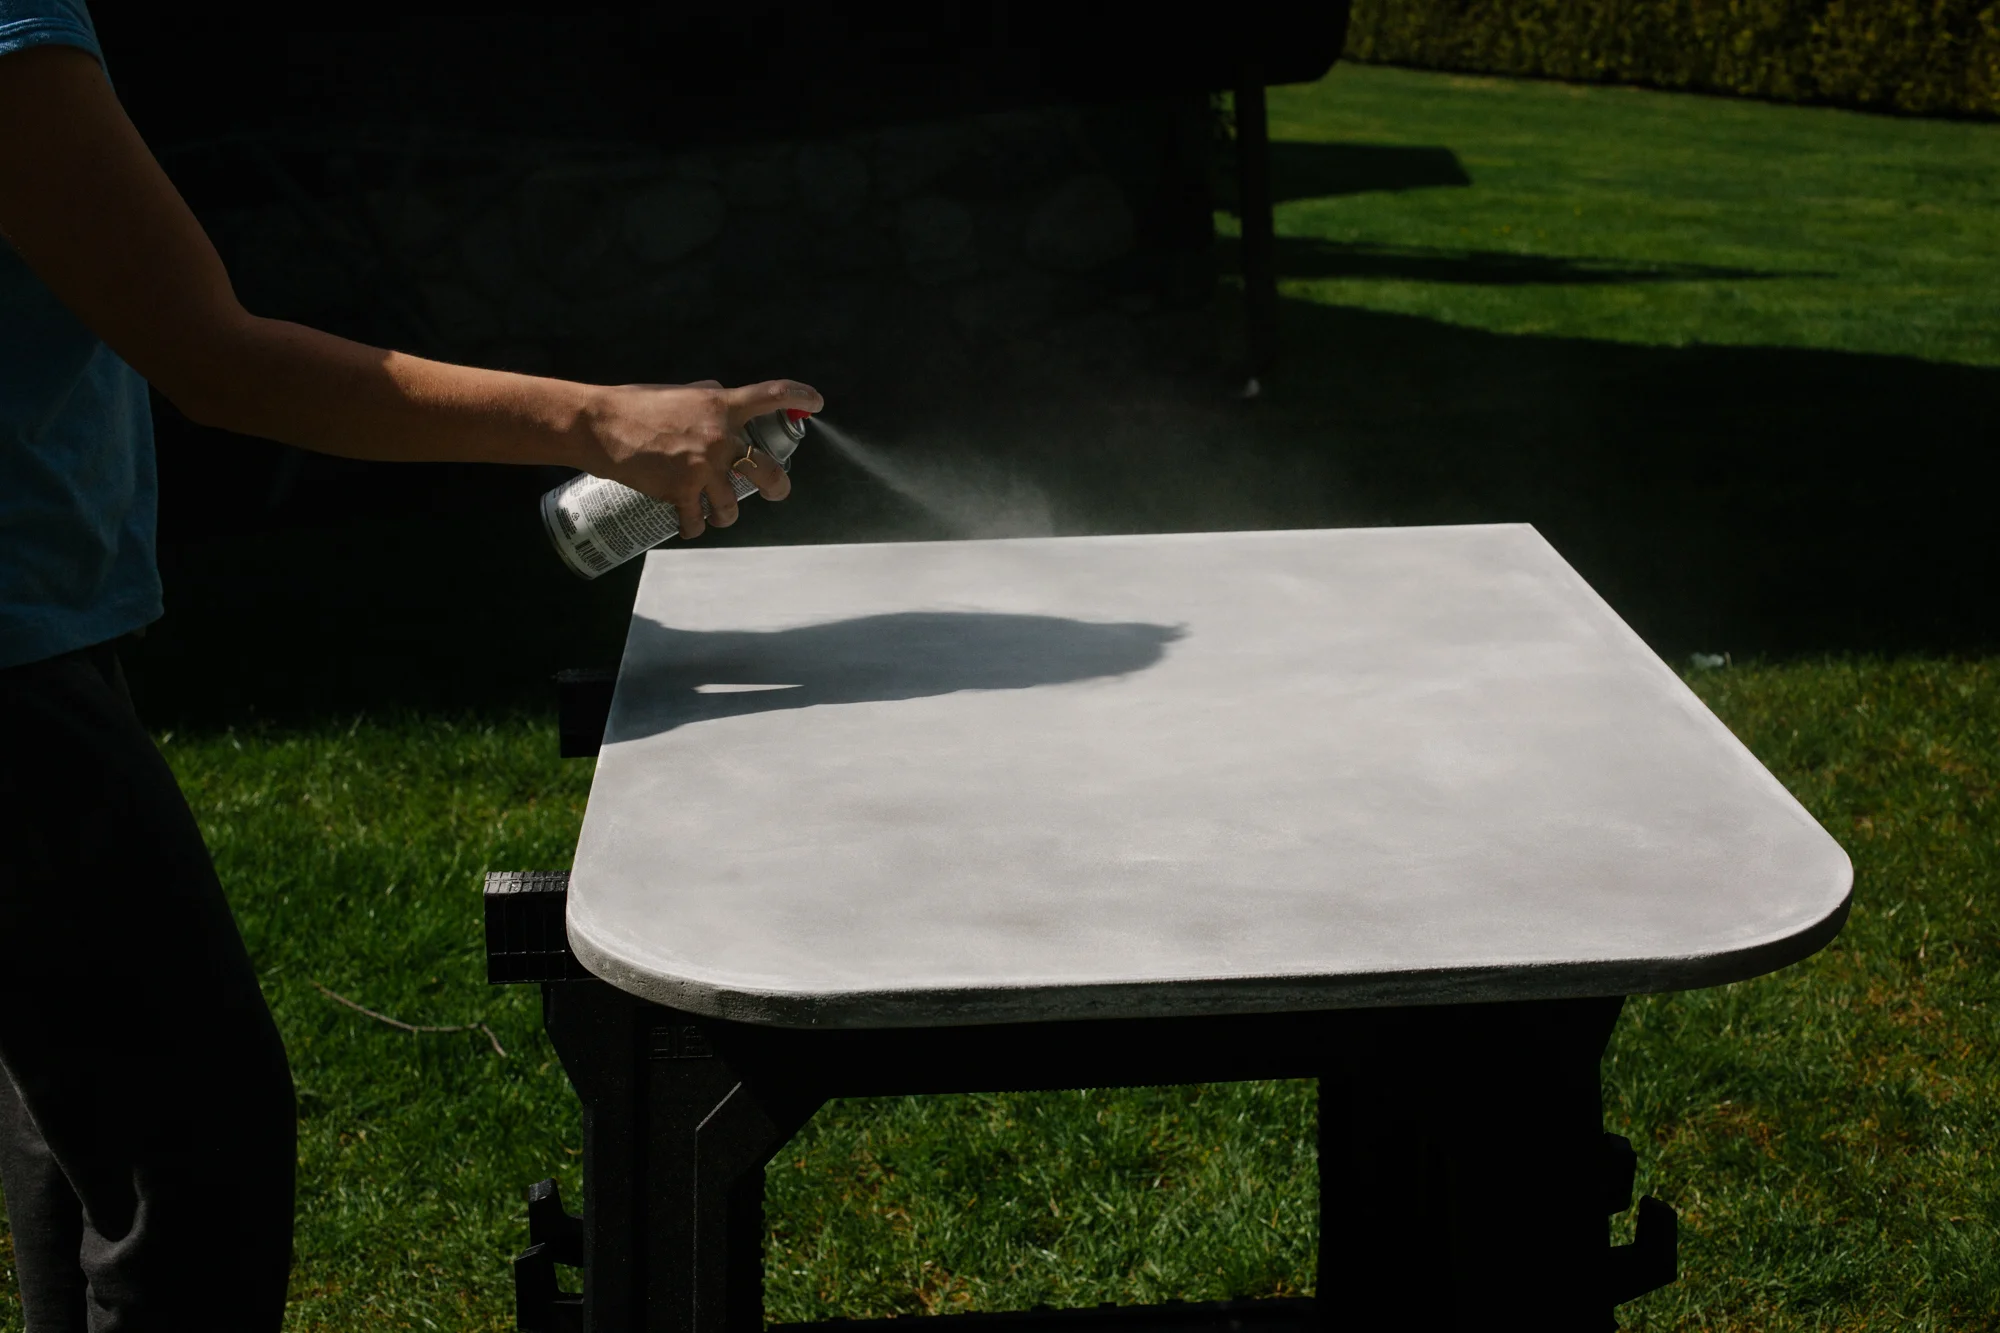
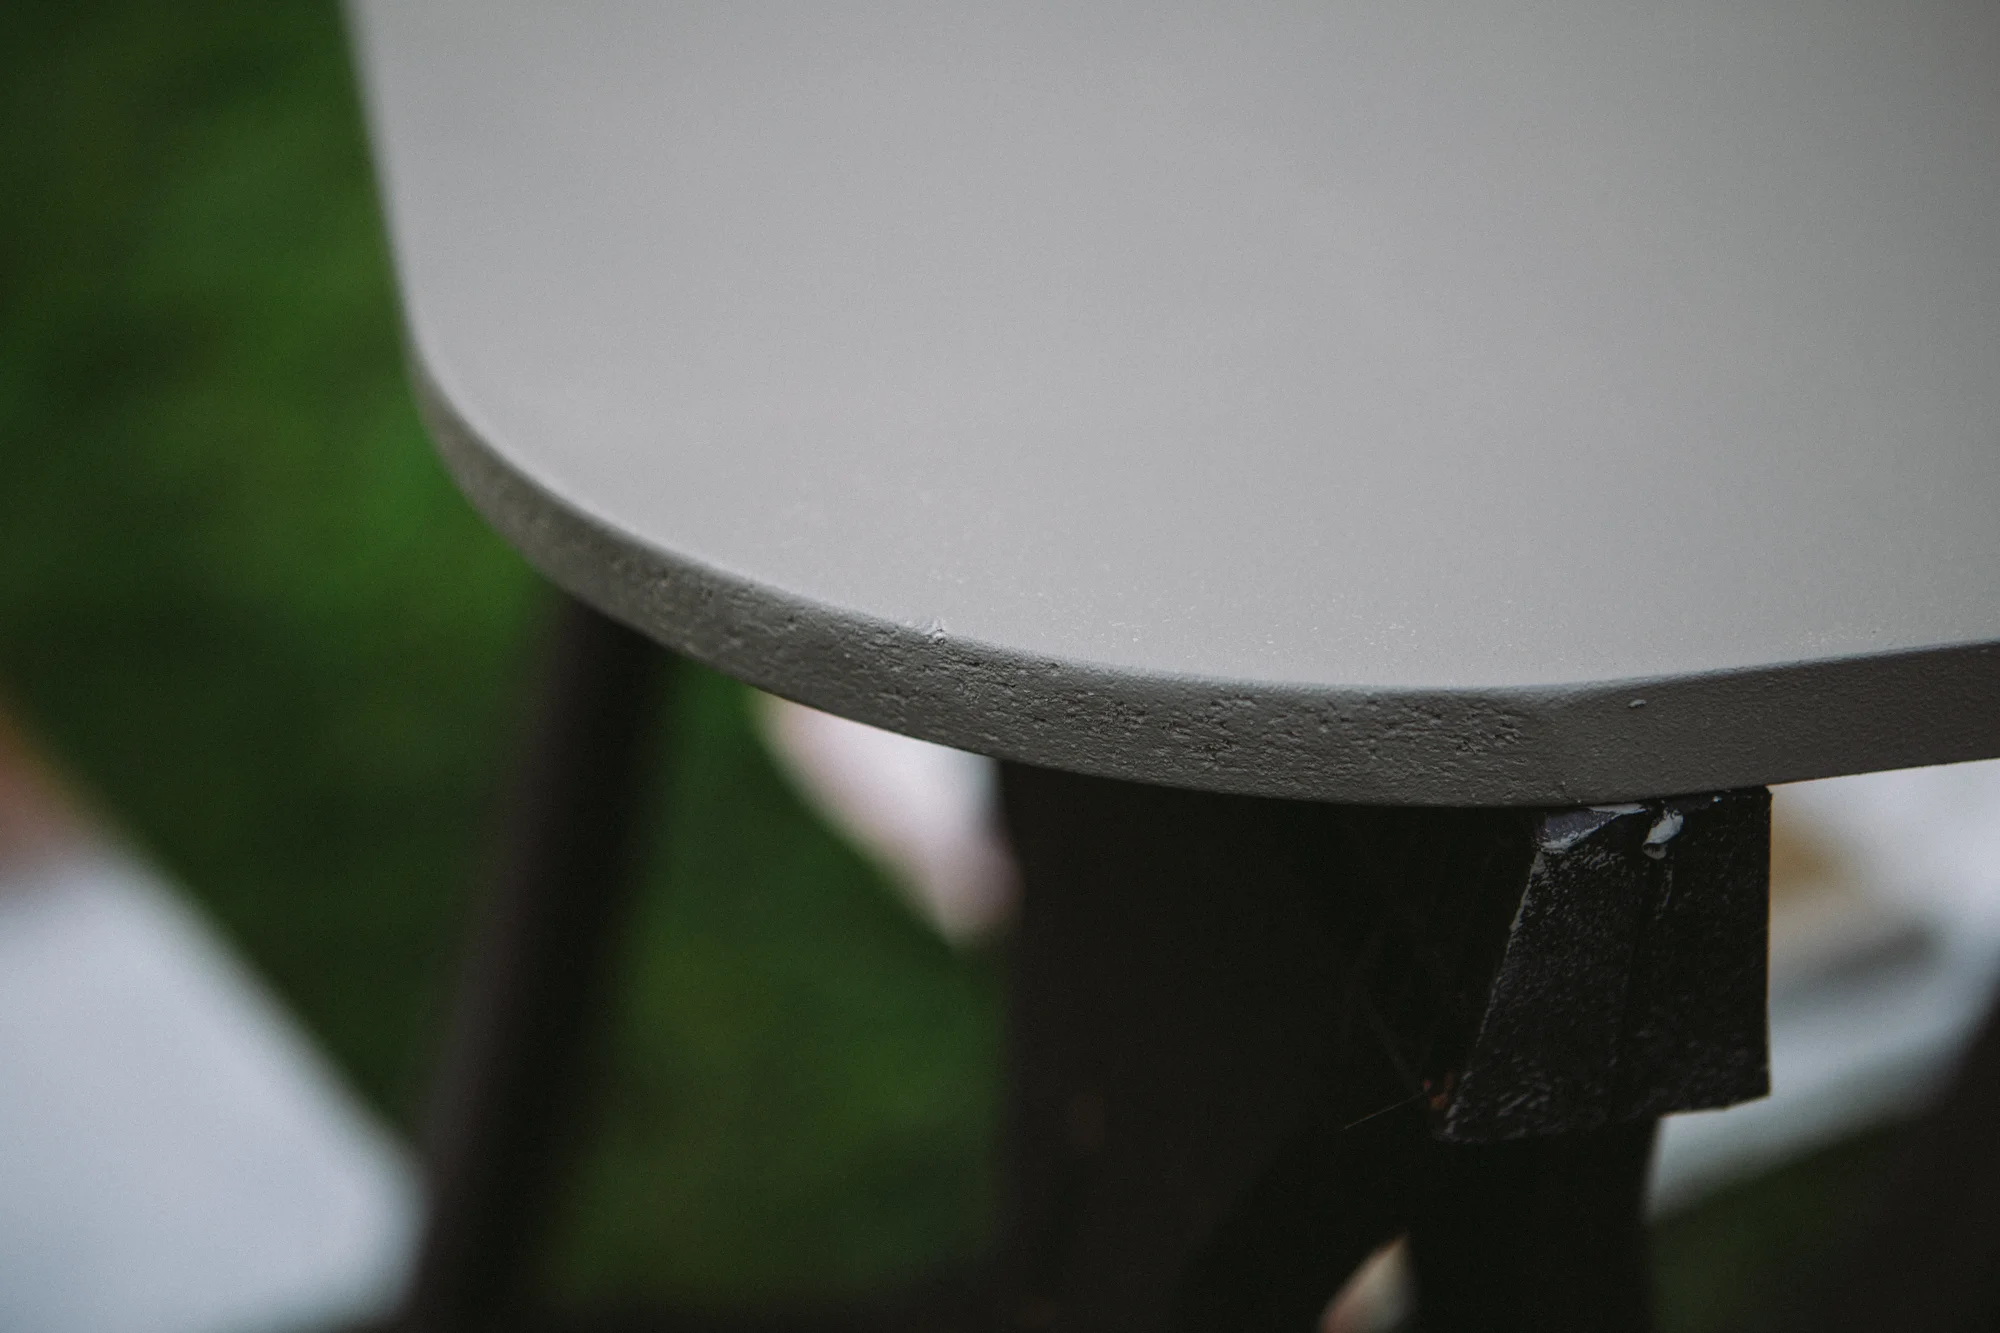
The layers of chalk and hairspray created incredible raised texture and highlights, but it was still lacking the depth of real concrete. We went over everything with a coat of glaze, (1/3 paint about 3 shades darker than our base and 2/3 Ralph Lauren faux finish glaze). We used a kitchen brush to work the paint into the tiny crevices made by the chalk, and then wiped it off in a circular motion with a rag, we sprayed on 8-10 coats of durable polyurethane made for floors, sanding and buffing the final coat to get look of polished concrete.
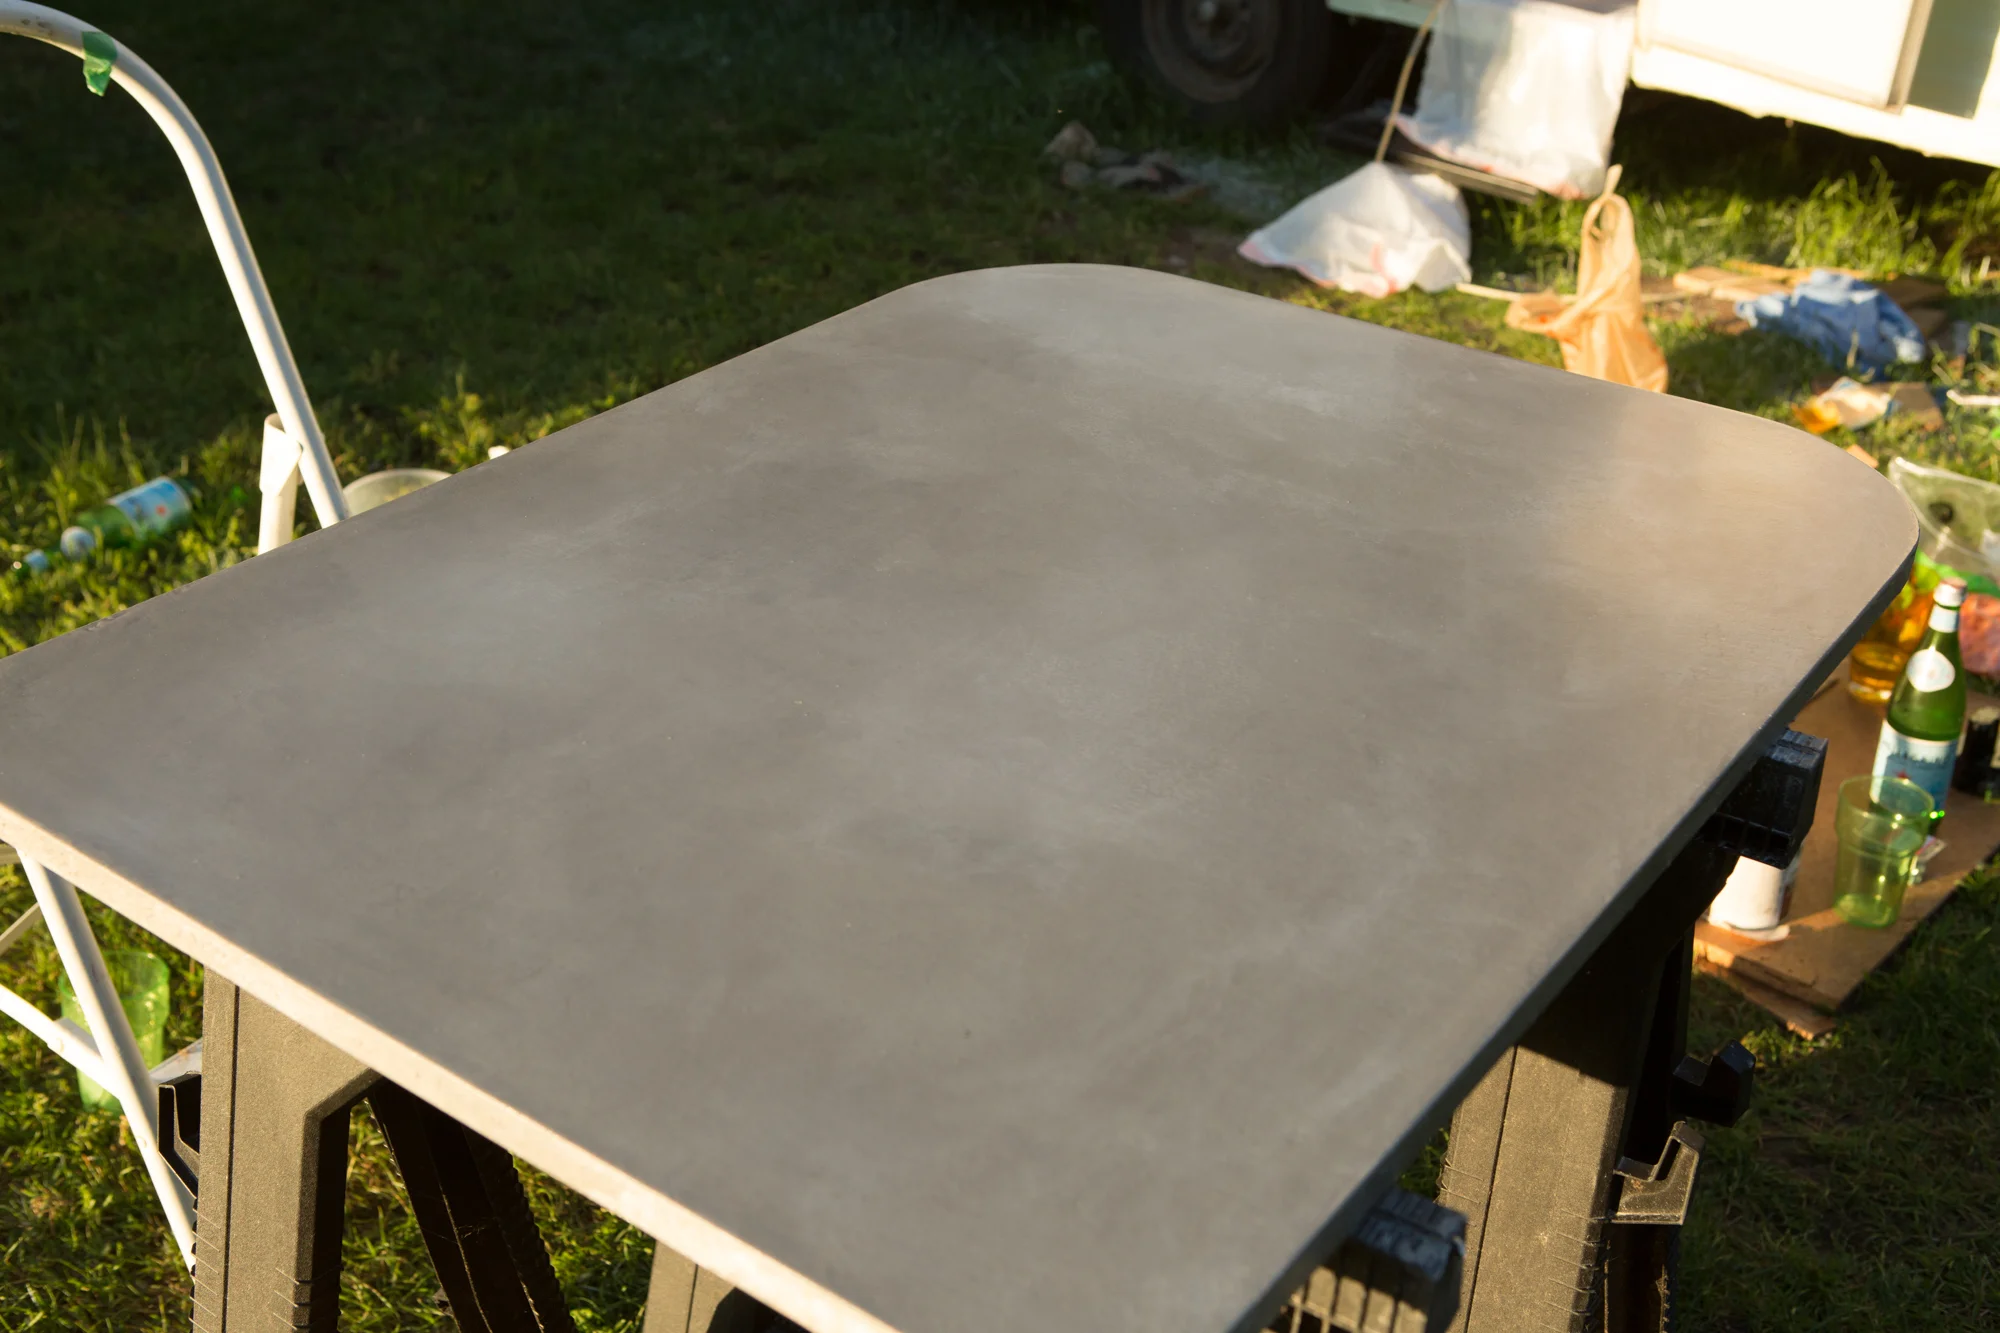
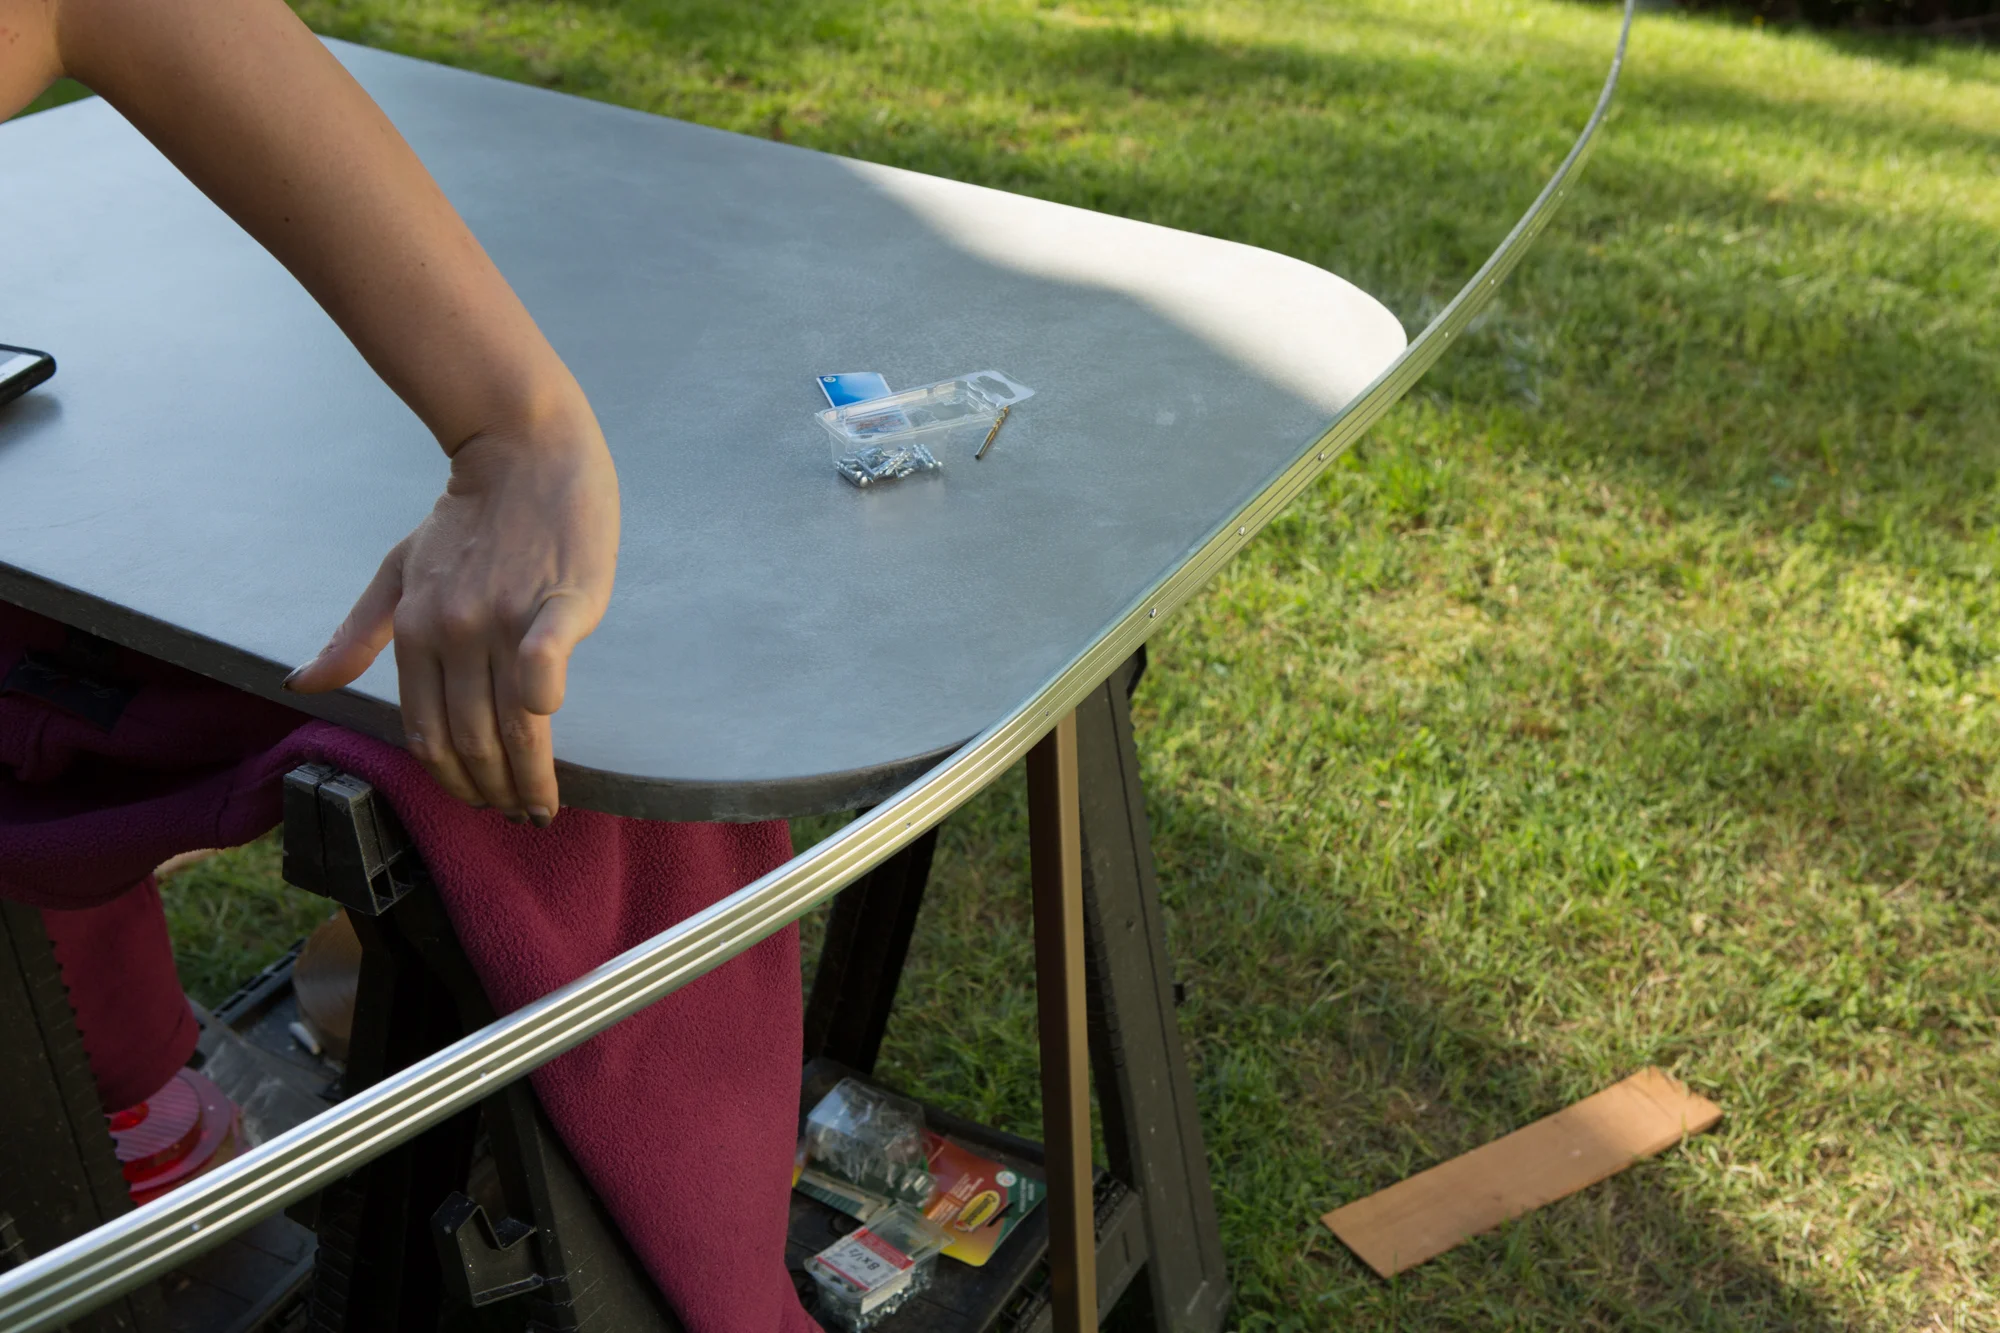
Once the whole piece finished curing we were ready to attach the trim. We measured out in even increments where we wanted to nail it down and drilled small pilot holes before attaching it to the table itself. Starting from the centre, we worked outwards, applying a bit of glue along the edge just to have it a bit more secure. Last step was to attach the mounting hardware that we able to salvage from the last table, and a brand new leg!

We've been sewing like maniacs on rainy days and finished up the curtains. How cute are those pom poms?