
A few months ago on the road we crossed paths with some friends of ours that were also on the road, Daniel and Ben, in a Utah gas station parking lot. Their trailer was about the same size as our Bobby Jean was then but when they gave us a tour we couldn’t get over how much bigger and brighter theirs felt. They had painted the interior white and we were so jealous, Bobby had all original wood and it would have been an unforgiveable sin to cover that with paint so we pushed that idea aside. Billy, however, was hideous inside and begging to be painted so we knew exactly what we wanted to do the second we brought her home.
It sounded so easy, we would just sand it down and paint away. Unfortunately, like everything else on this project, it's not that simple.
Pick a colour.
We knew we wanted off white. Sound simple? It’s definitely not that easy. We spent an awkward amount of time in the paint department at the hardware store, we filled our hands with swatches and tried them inside, outside, in the sun, in the shade and finally settled on Almond Milk, which we also ended up using on the exterior we loved it so much.
Remove the cabinets from the walls.
We tend to get lazy and thought about all the ways we could get around doing this but there isn’t one, so we took 'em down and took the hinges off. We were planning to replace the existing hinges and move them to the top of the cabinets so we filled the holes that were left when we took them down. If you plan on putting the cabinets back on in the same place leave the holes as is, this will make it easy for you to mount them back up.
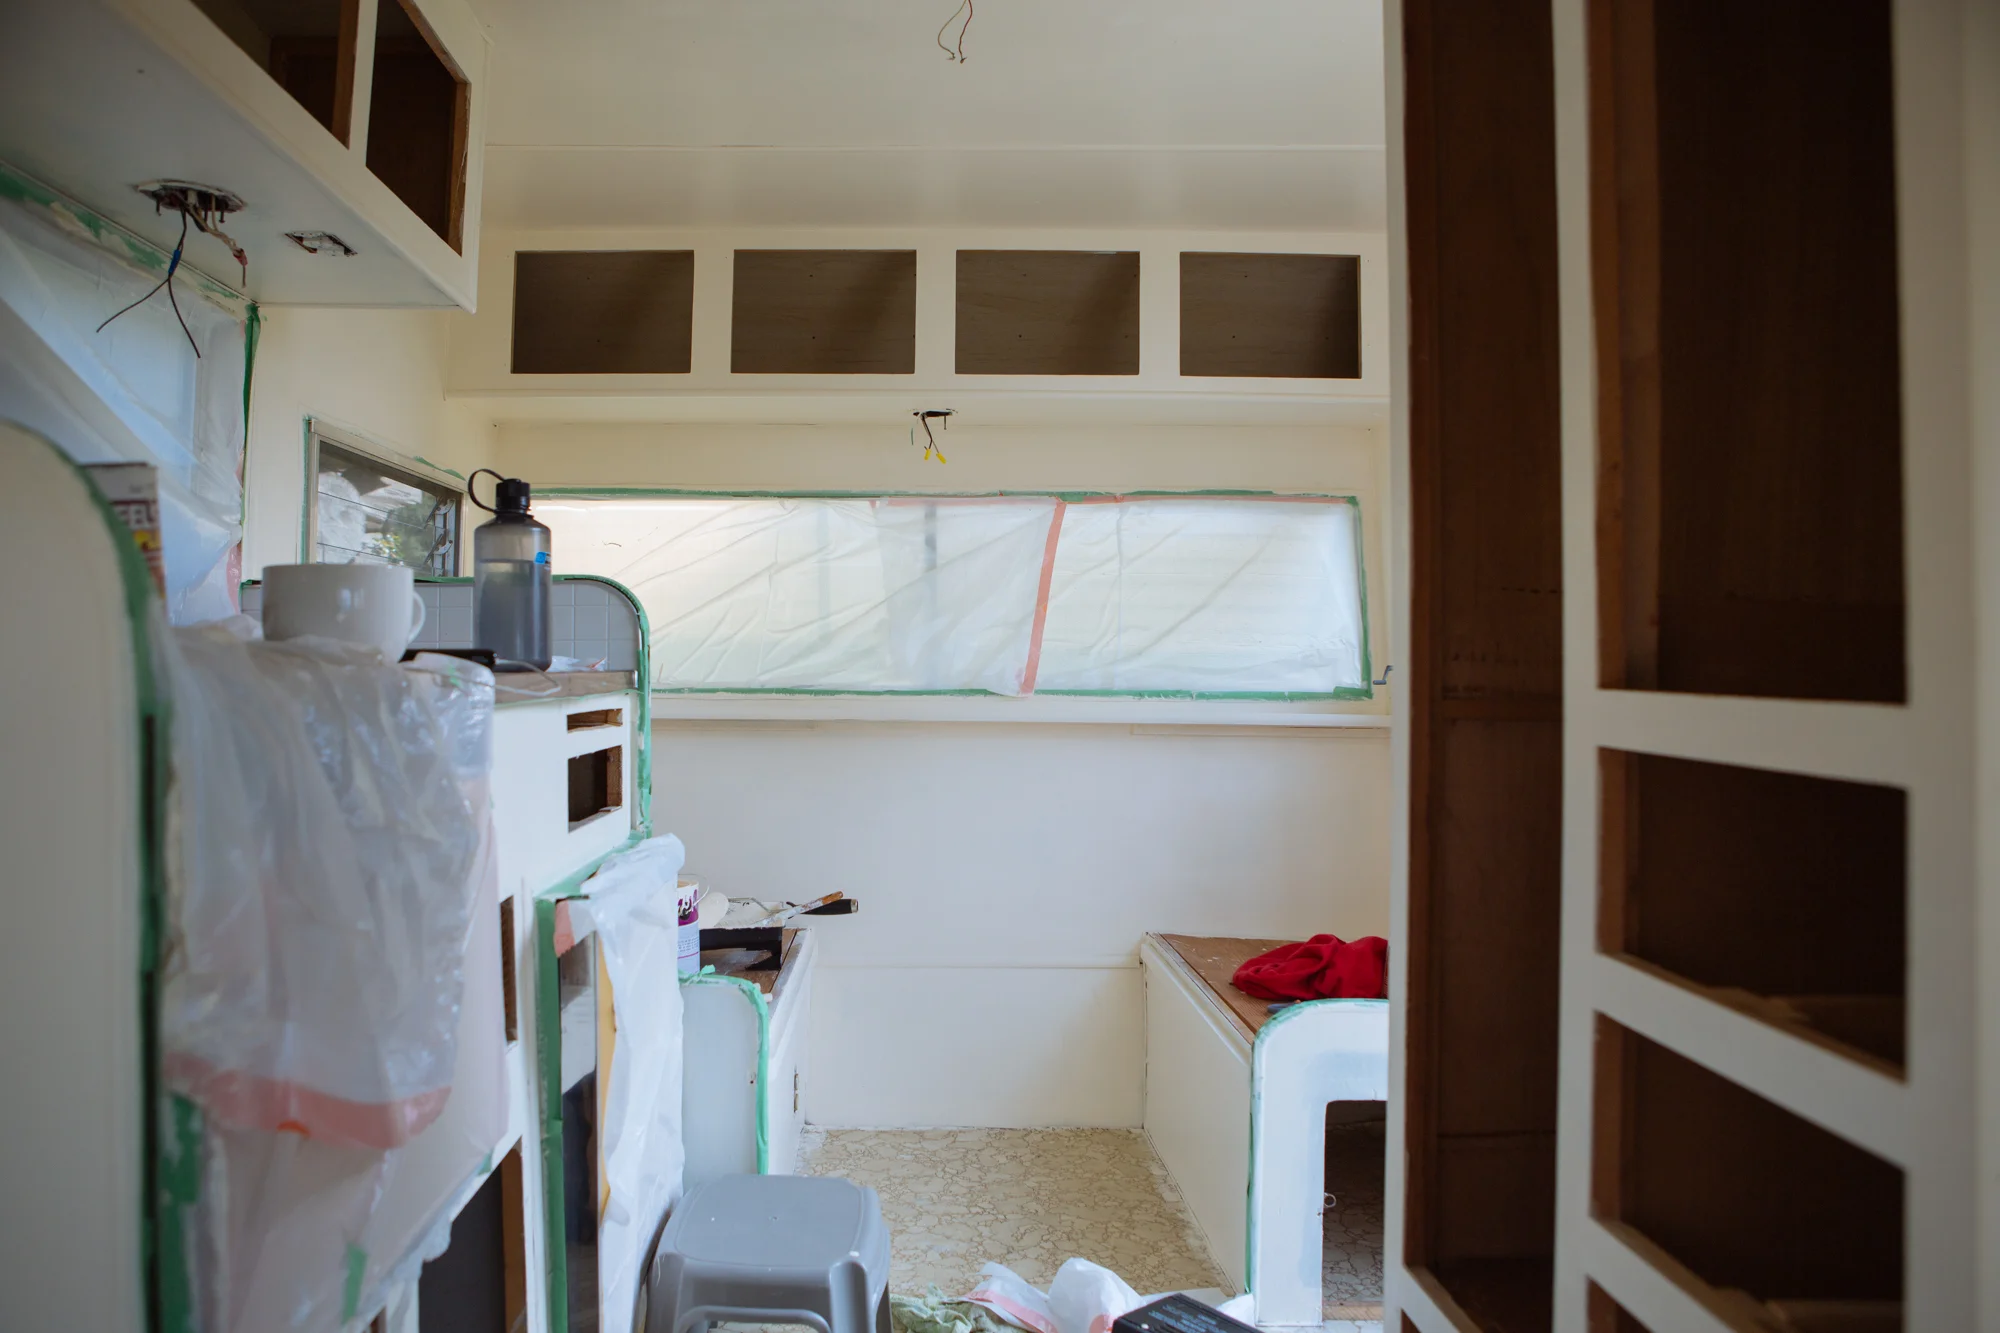
Prep the surface for paint.
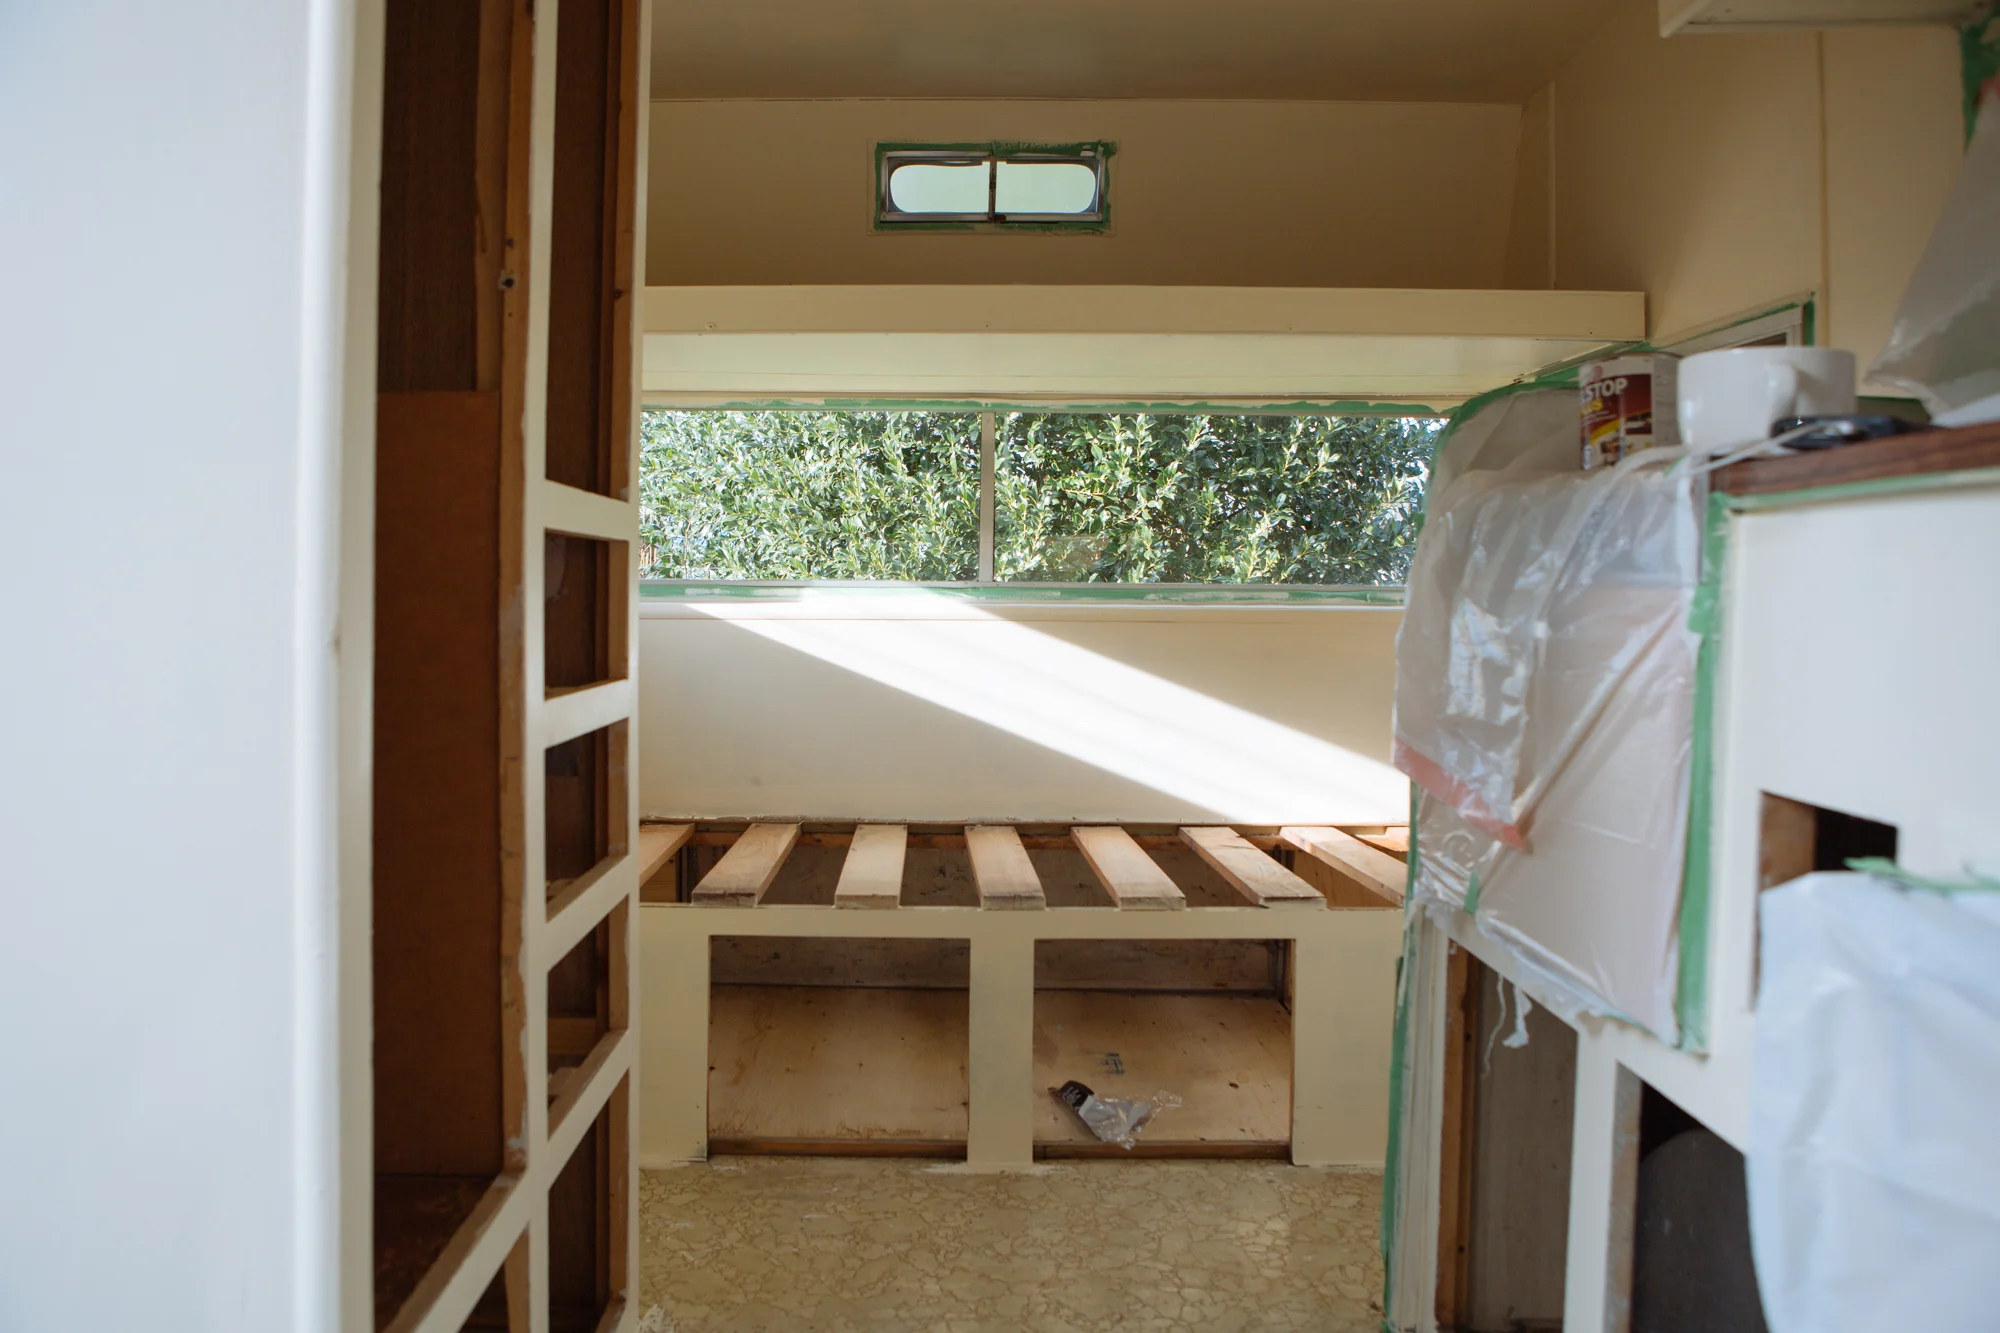
We taped everything off because we are complete disasters.It's less annoying to tape everything off properly than it is to remove the paint once it dries. We also covered the windows in case we had any drips but we didn't bother with the floor since we planned on replacing it later.
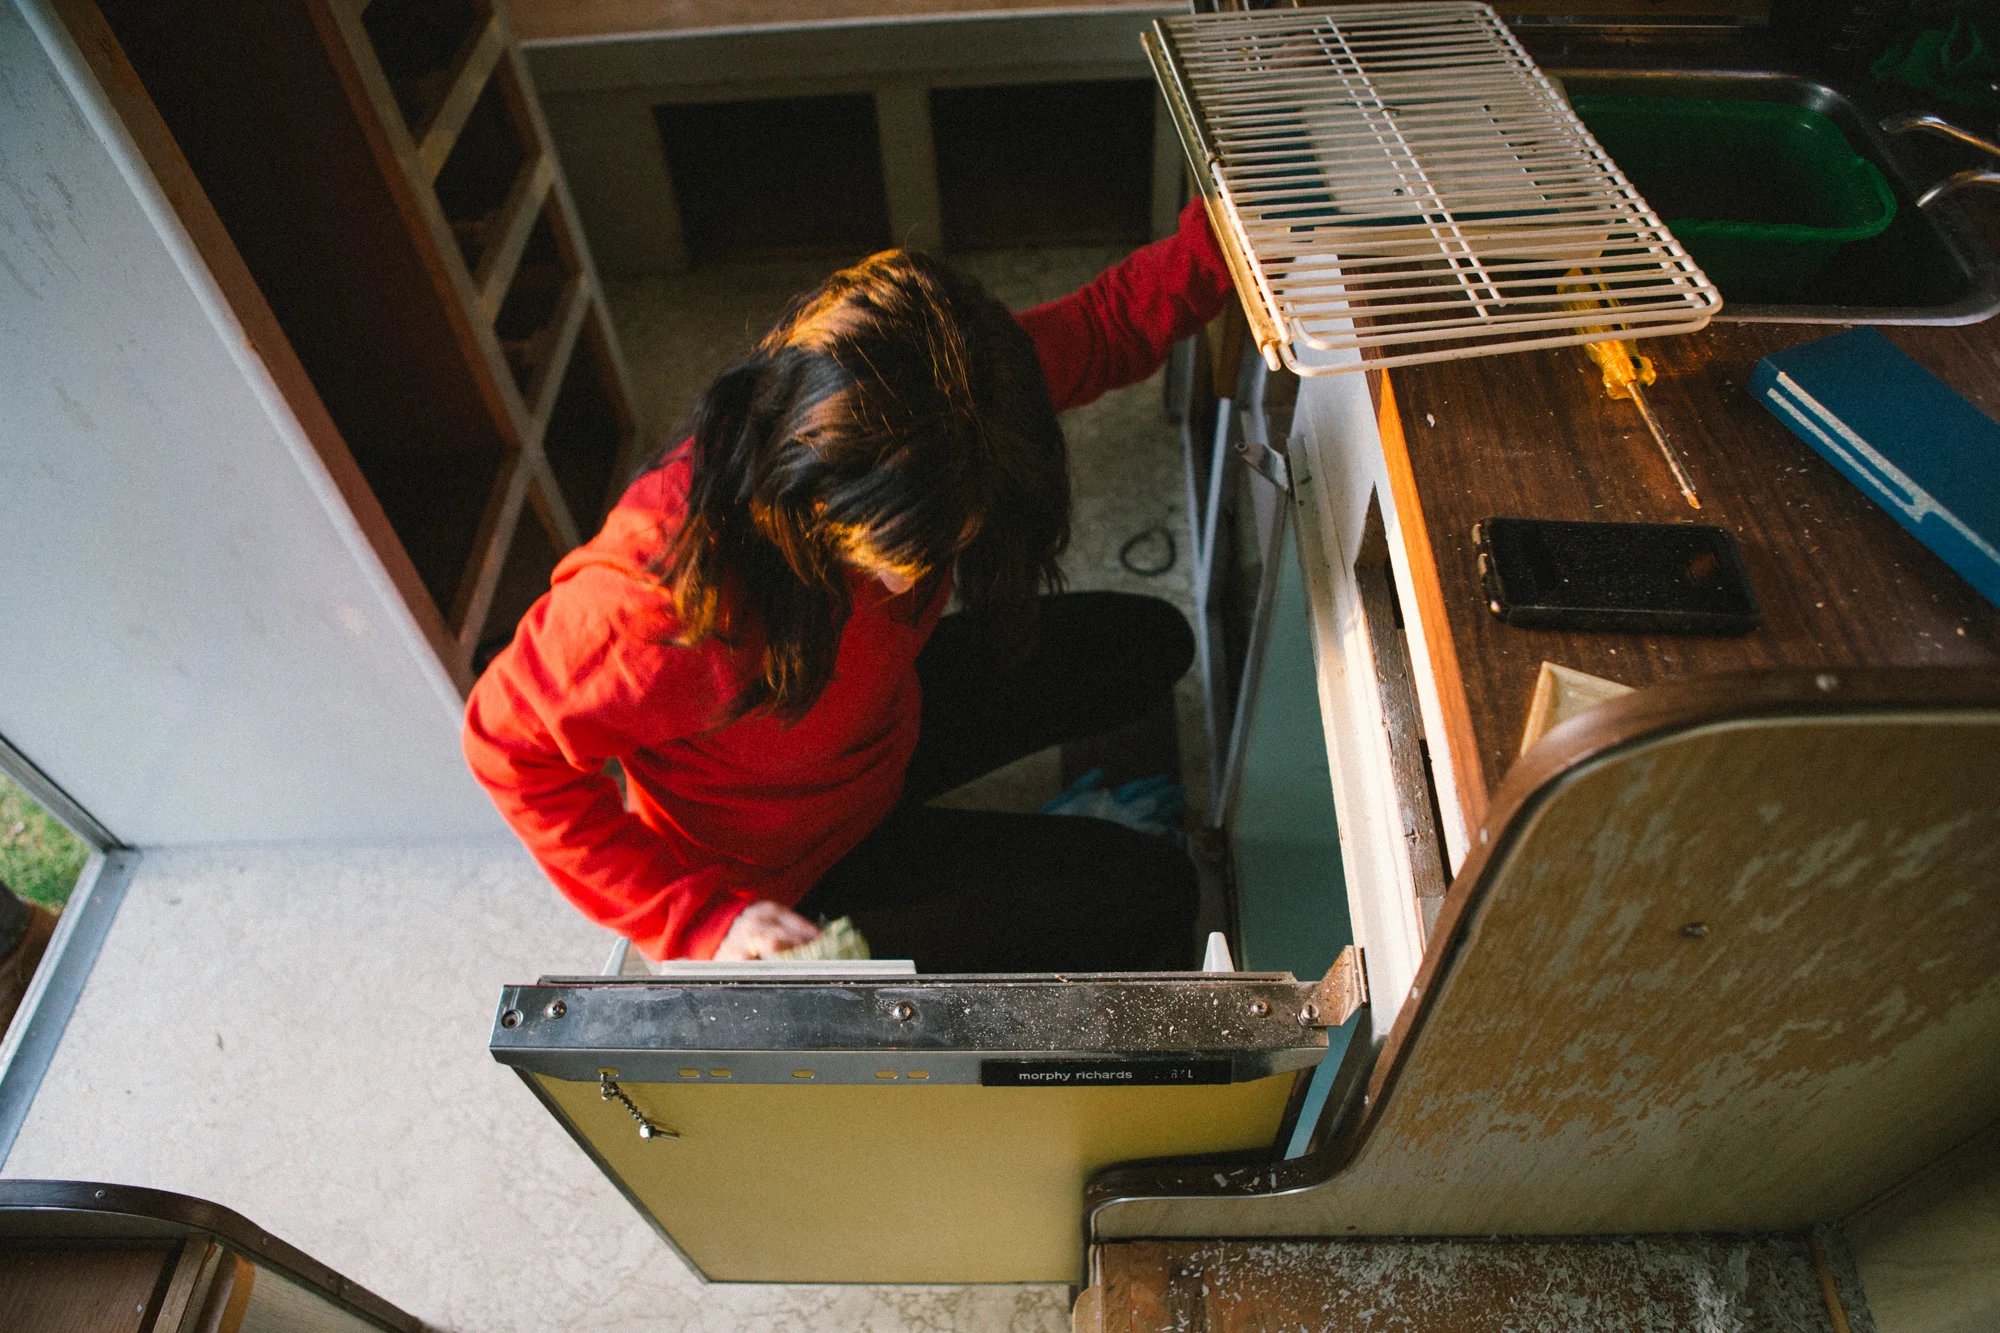
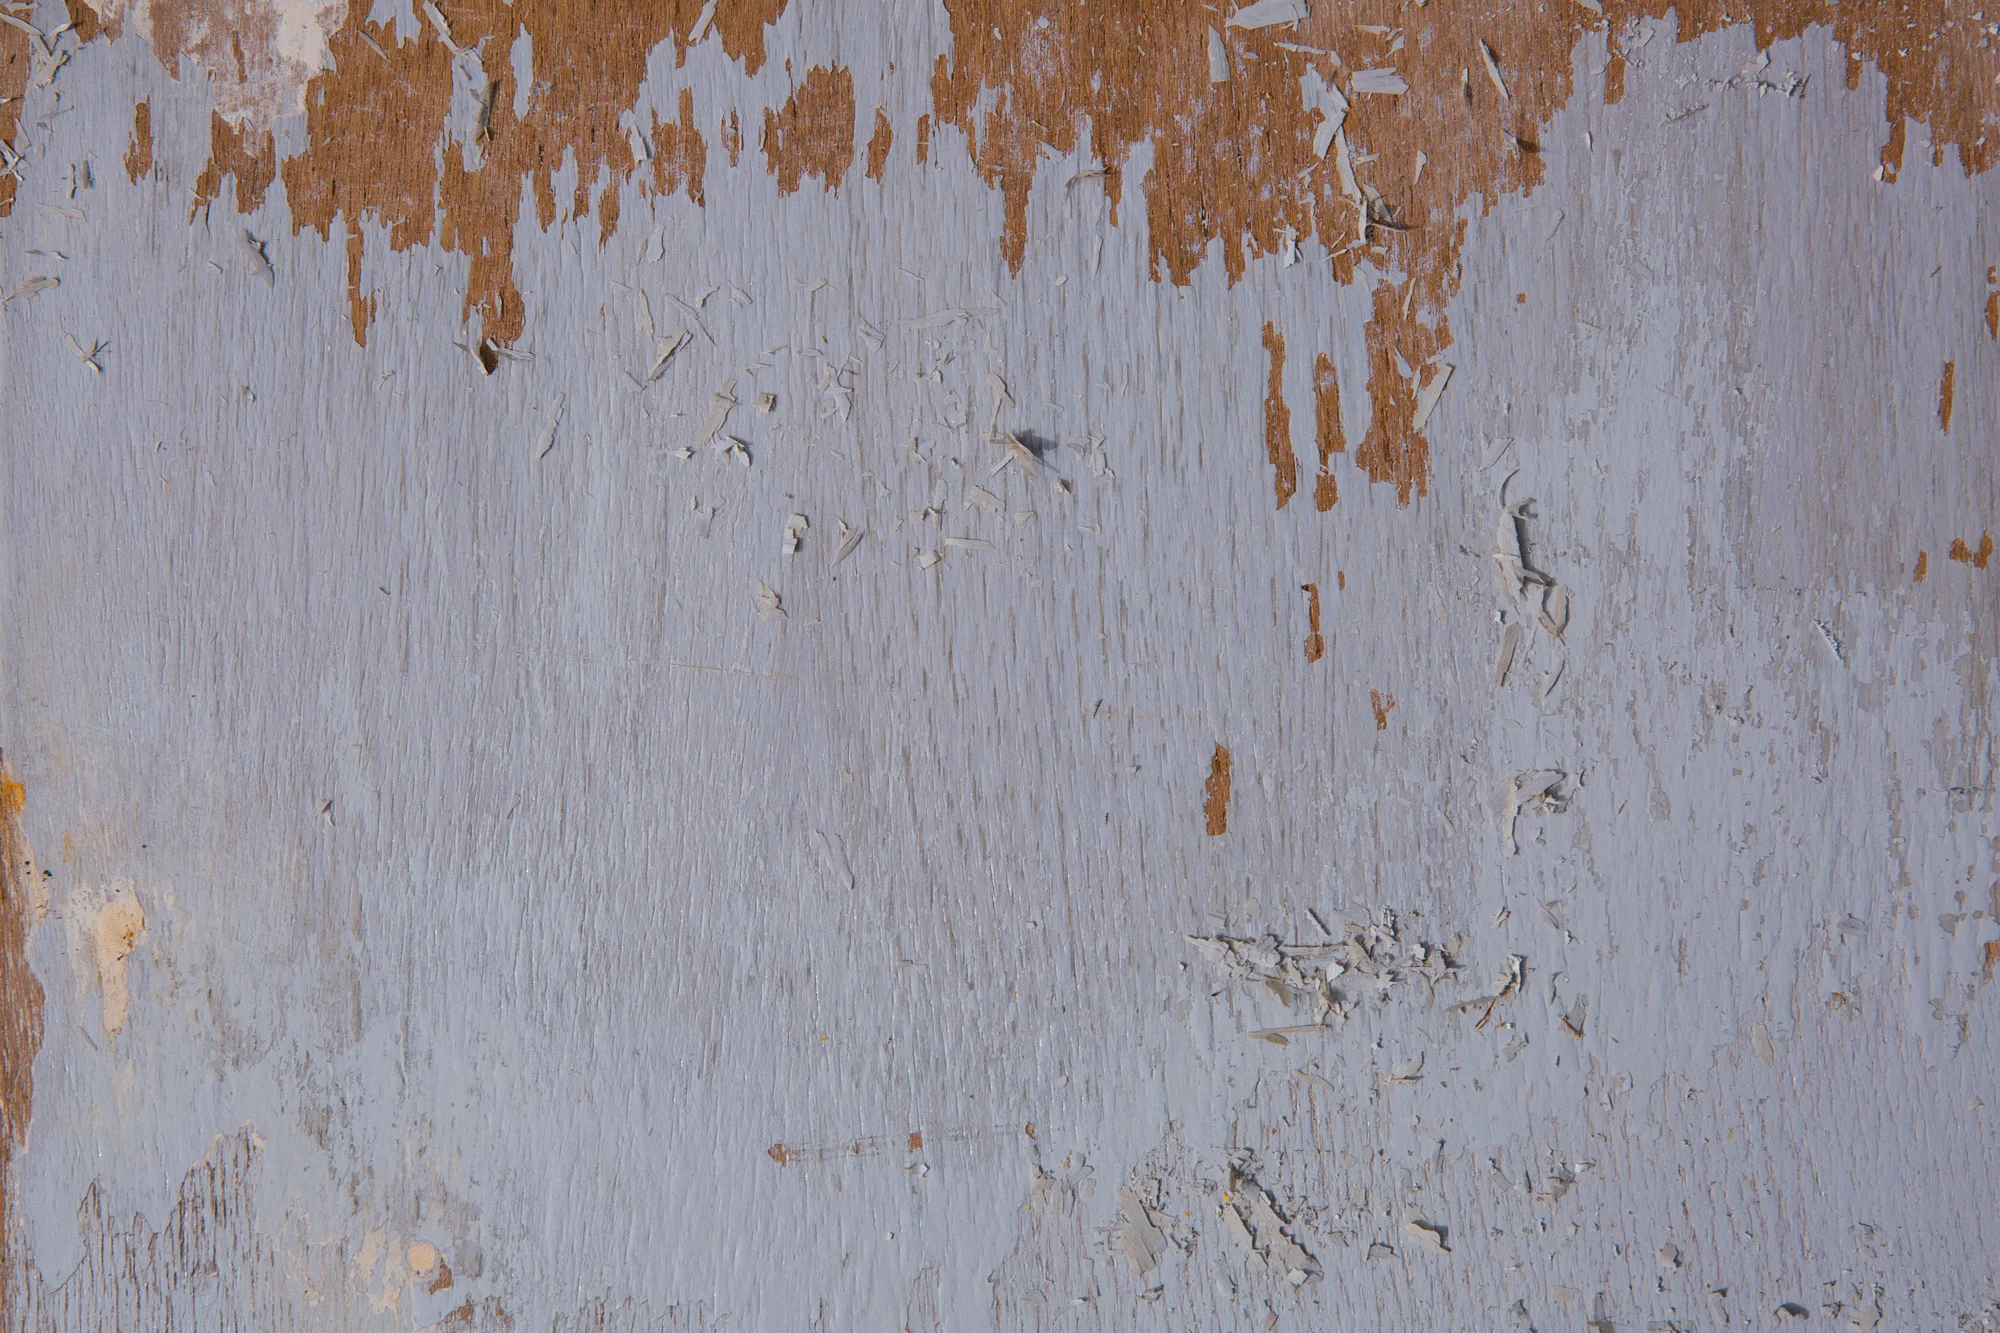
Now, typically you would simply do a light clean and sand and get right to it. This is where we encountered our first major annoyance; endless peeling paint. No matter how much we scraped and sanded we would not get it all off. It clung to everything, we were constantly vacuuming the surfaces, floor, WALLS and our clothes. It was endless. Once we thought we got it down to a manageable point where the edges weren't lifting we were ready to paint (we thought).
Time to paint.
As soon as we started to paint more of the existing paint started lifting and peeling and getting everywhere within the new paint. It was impossible to work with in this condition so we had to stop before we made things worse.
Back to the drawing board.
We researched our options and that's when we discovered a primer called Peel Stop, it was exactly what we needed. We used Peel Stop to prime the entire trailer, every interior surface and cabinets too. It was a life saver, it's basically glue and it keeps everything in place so you can go right ahead and paint like it's business as usual after a coat of this stuff.
Cabinets and Drawers
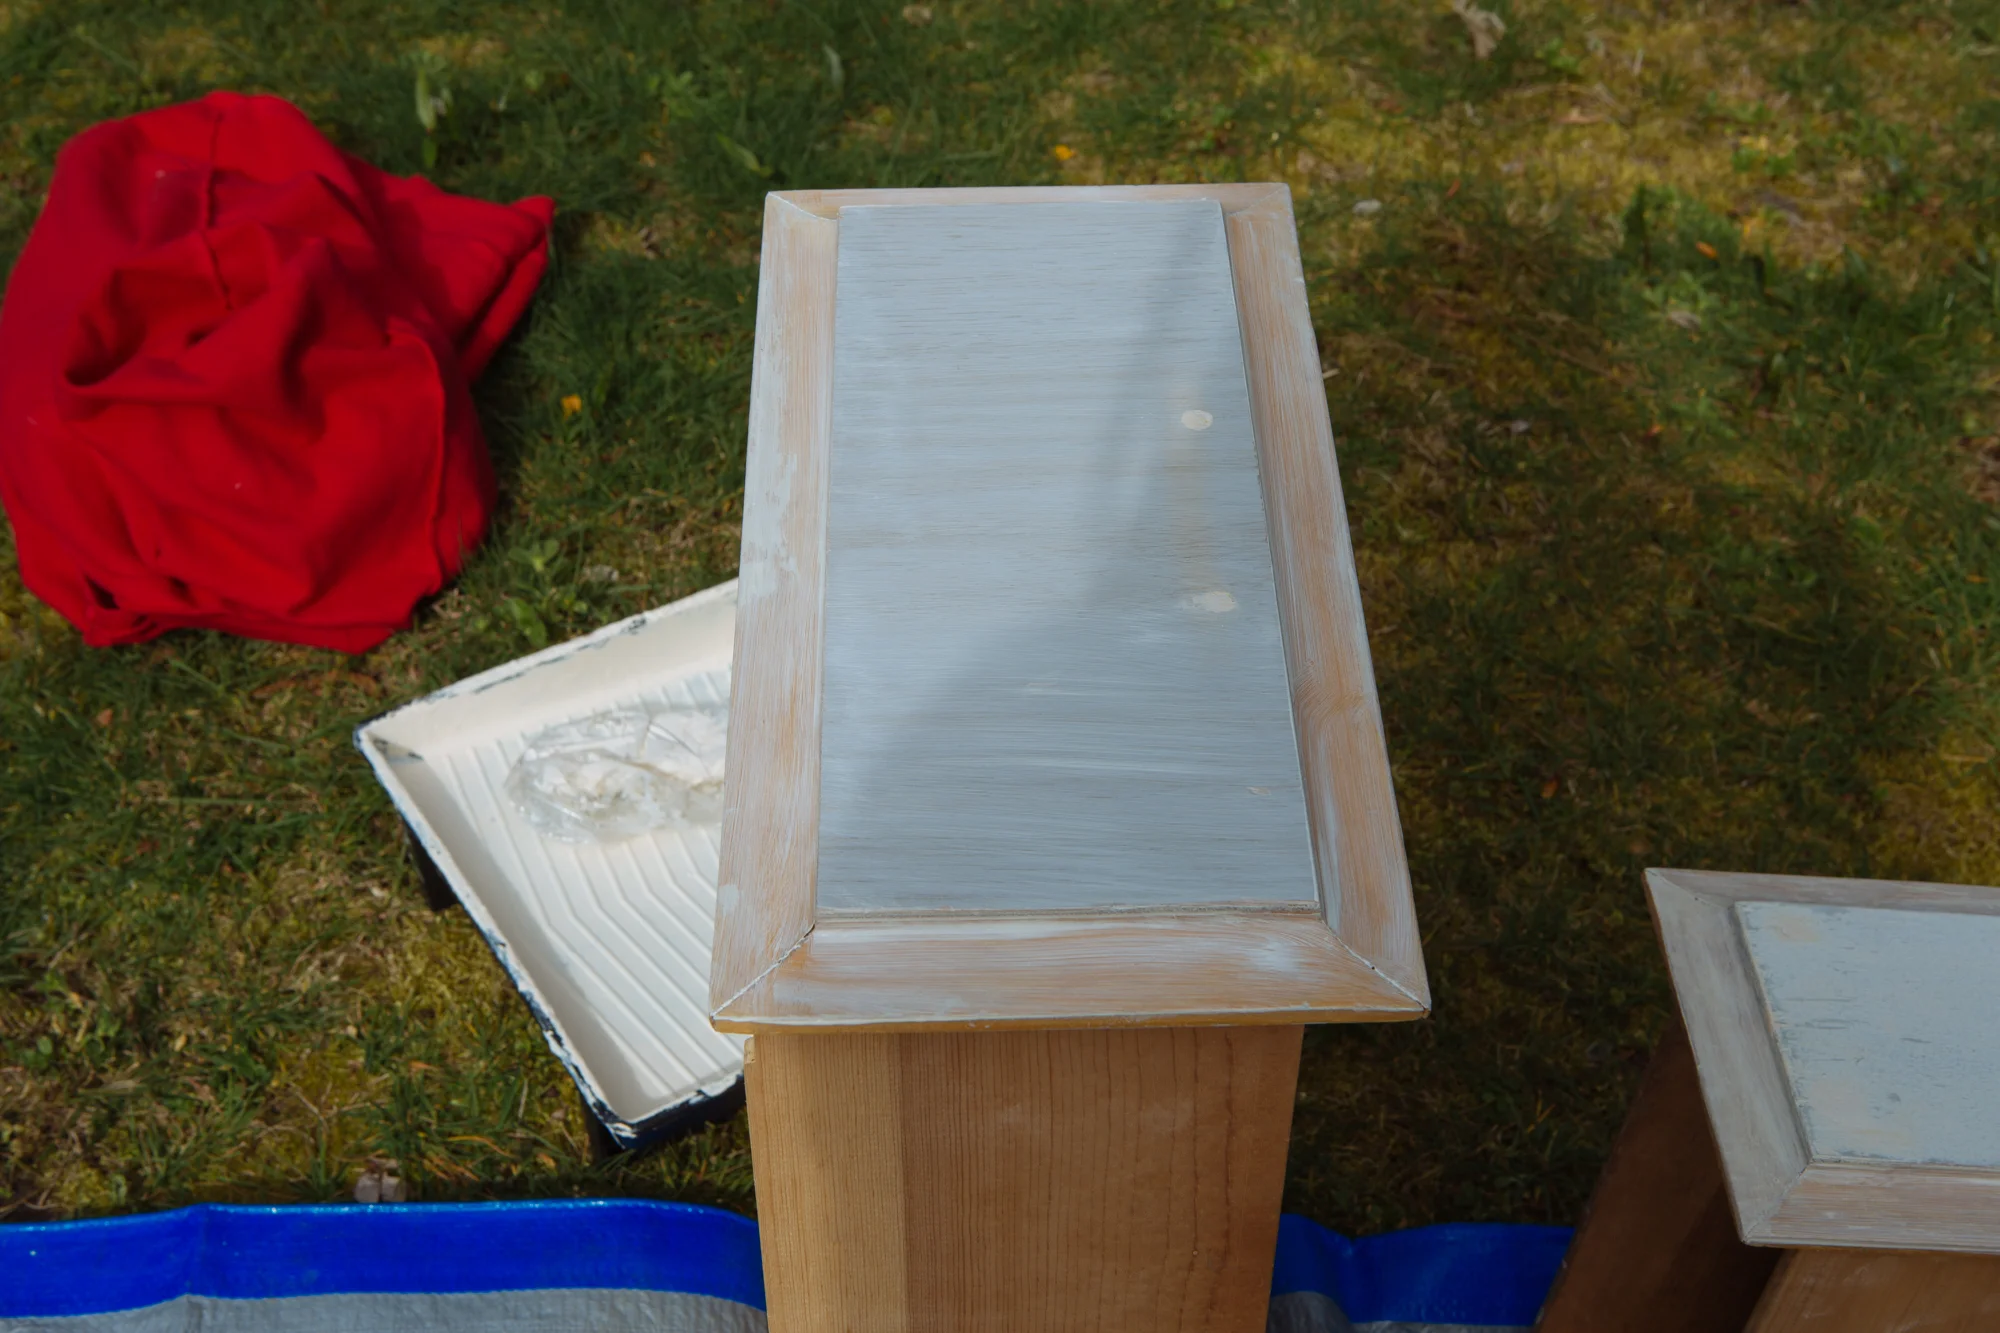
Both the cabinets and drawers got the same treatment as the other surfaces above. We planned on using new hardware so we removed the existing hardware, filled and sanded the holes before applying the Peel Stop.
Frankenstein-ing a Cabinet
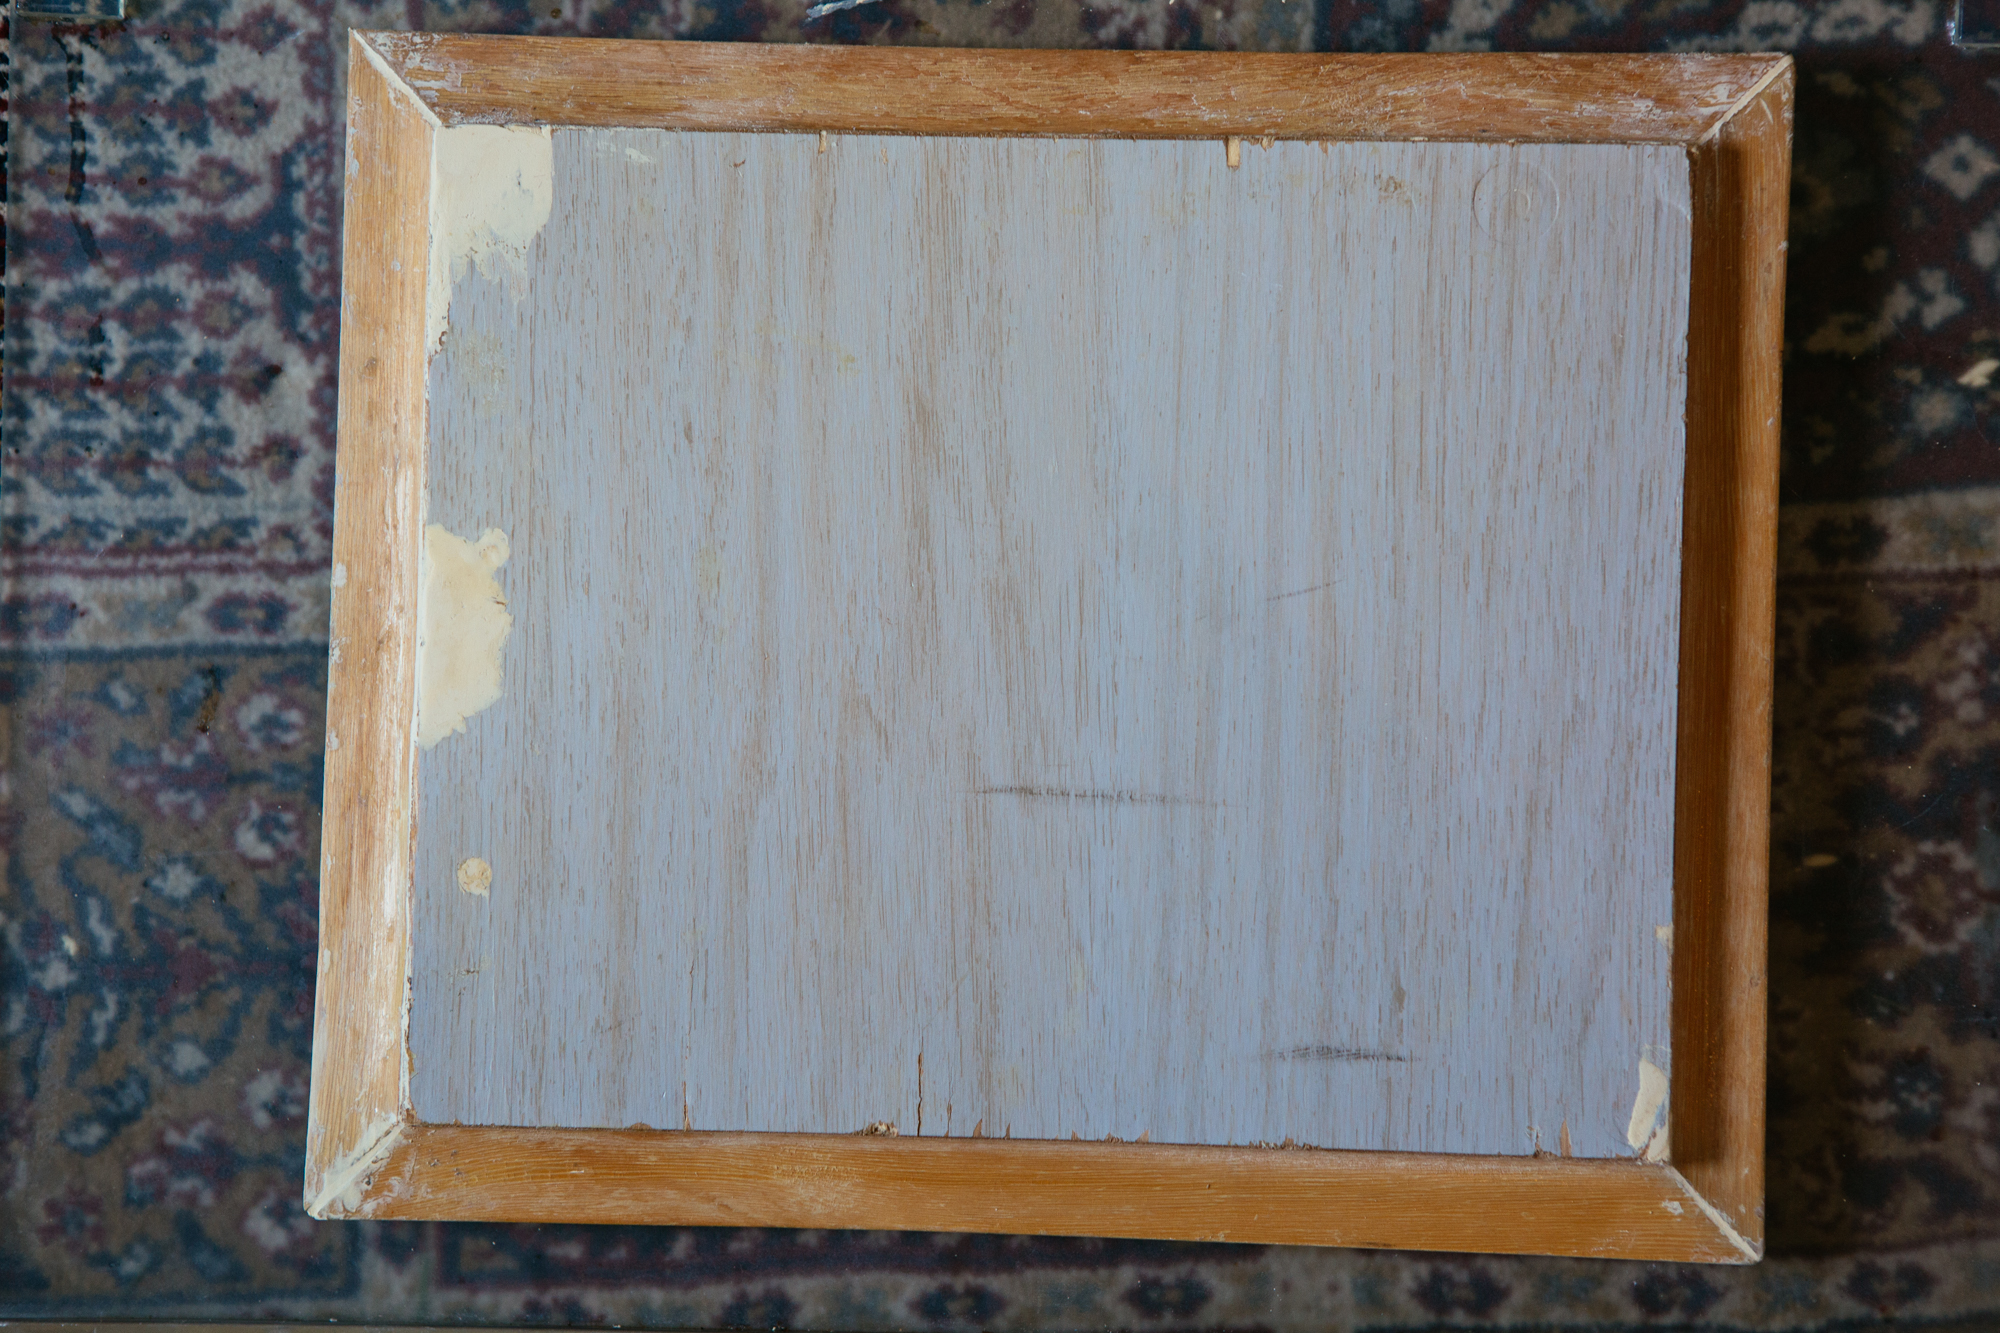
Given that this trailer is almost 50 years old and well used, we were lucky that most of the cabinets were in pretty decent shape but some were beyond repair. This is where Jill really killed it. I thought we were going to have to buy replacements or hire this out but she had a plan (she's pretty good with this stuff). We were removing one of the lower cabinets to build a sliding shoe drawer so we had one extra cabinet to work with. From this single cabinet she was able to piece it apart and cut down and replace the missing pieces we needed for all the broken ones (including one that needed to be entirely resurfaced).
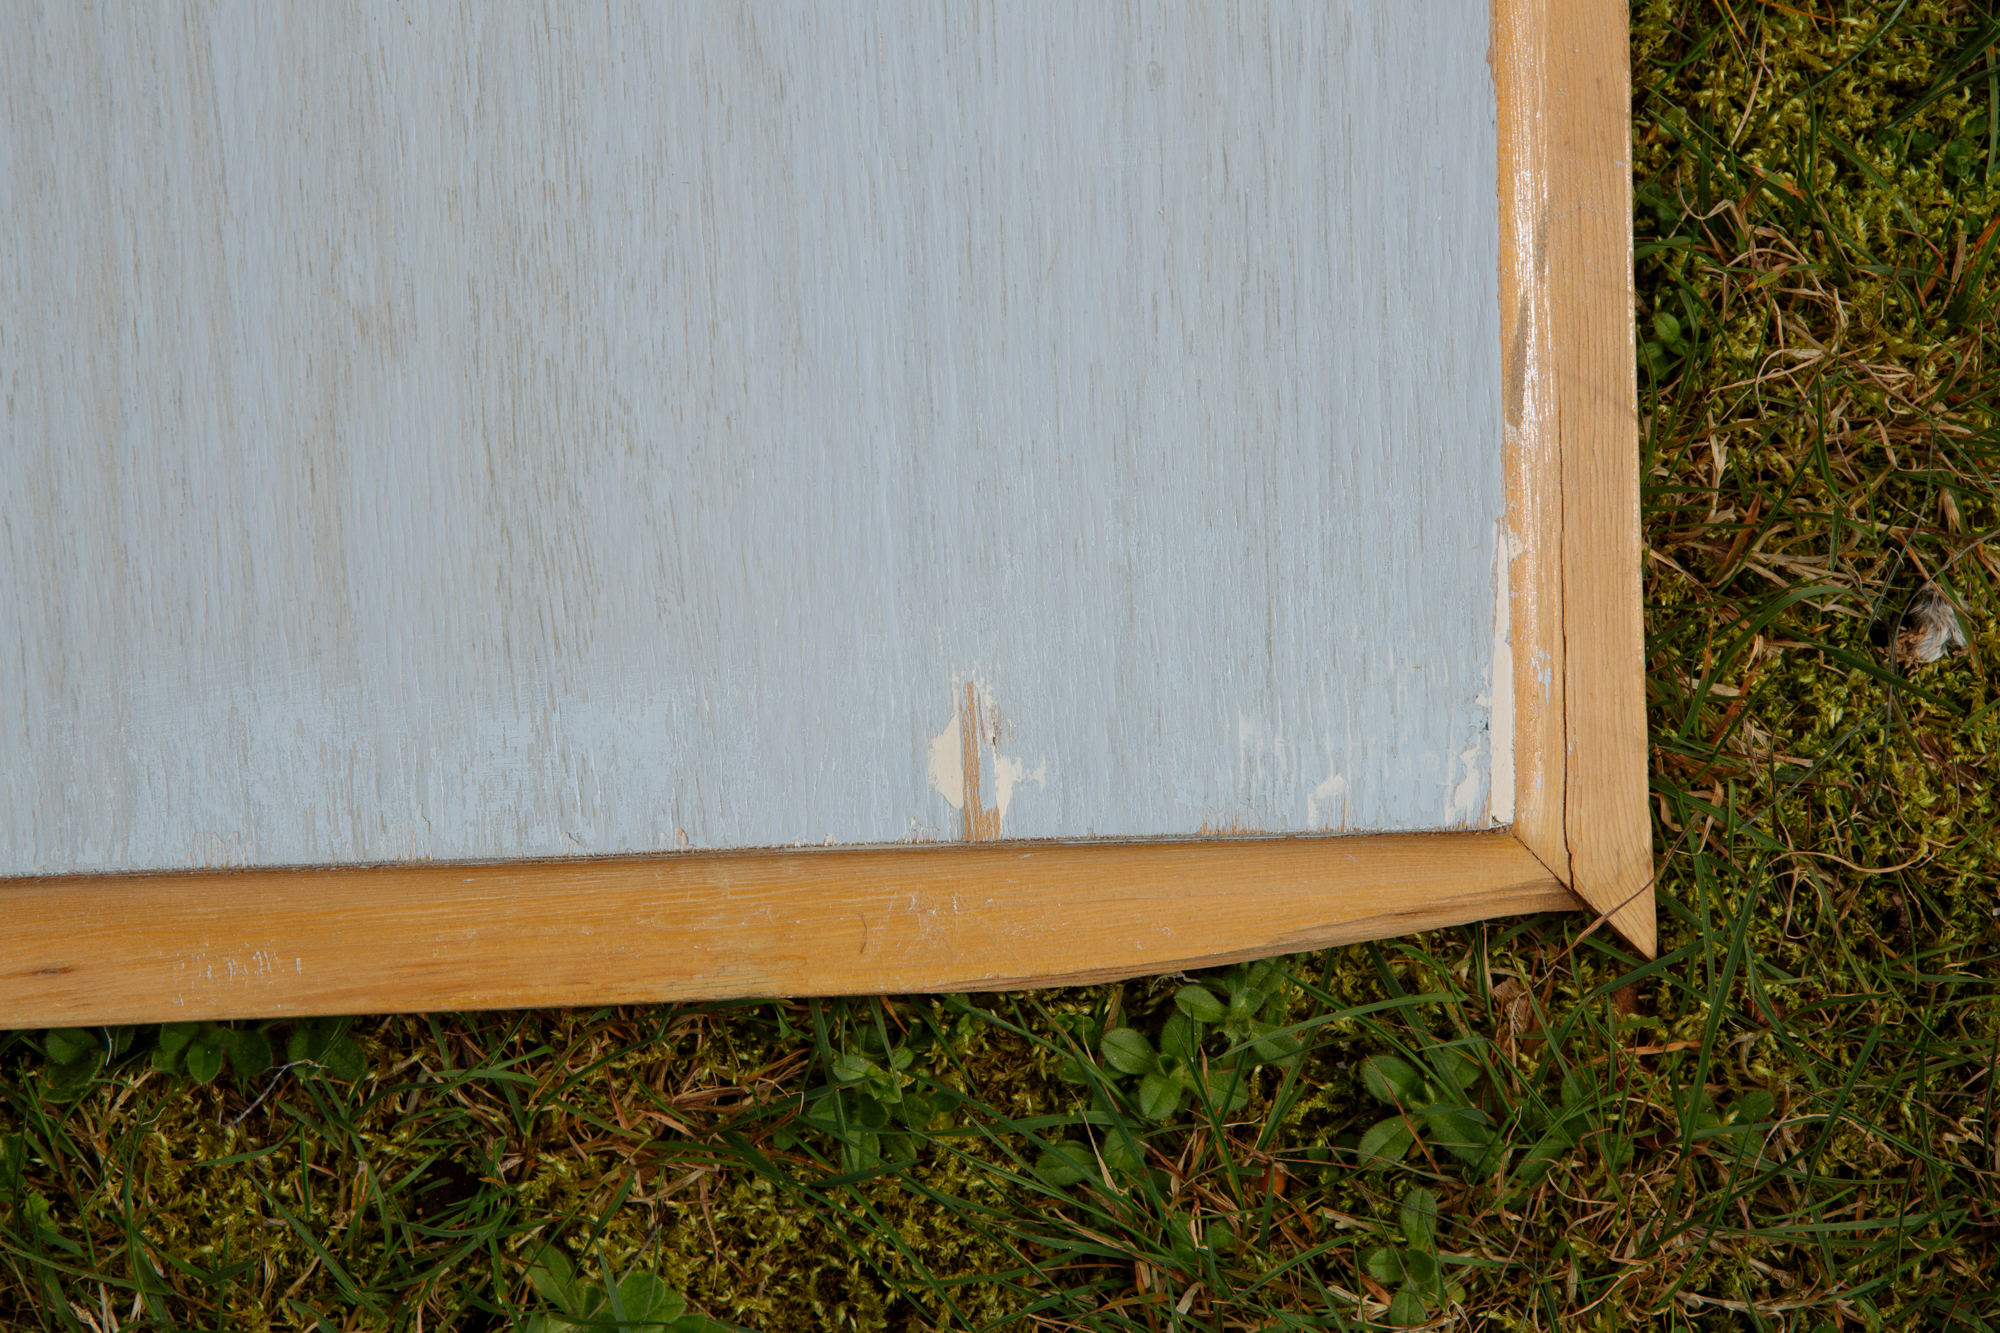
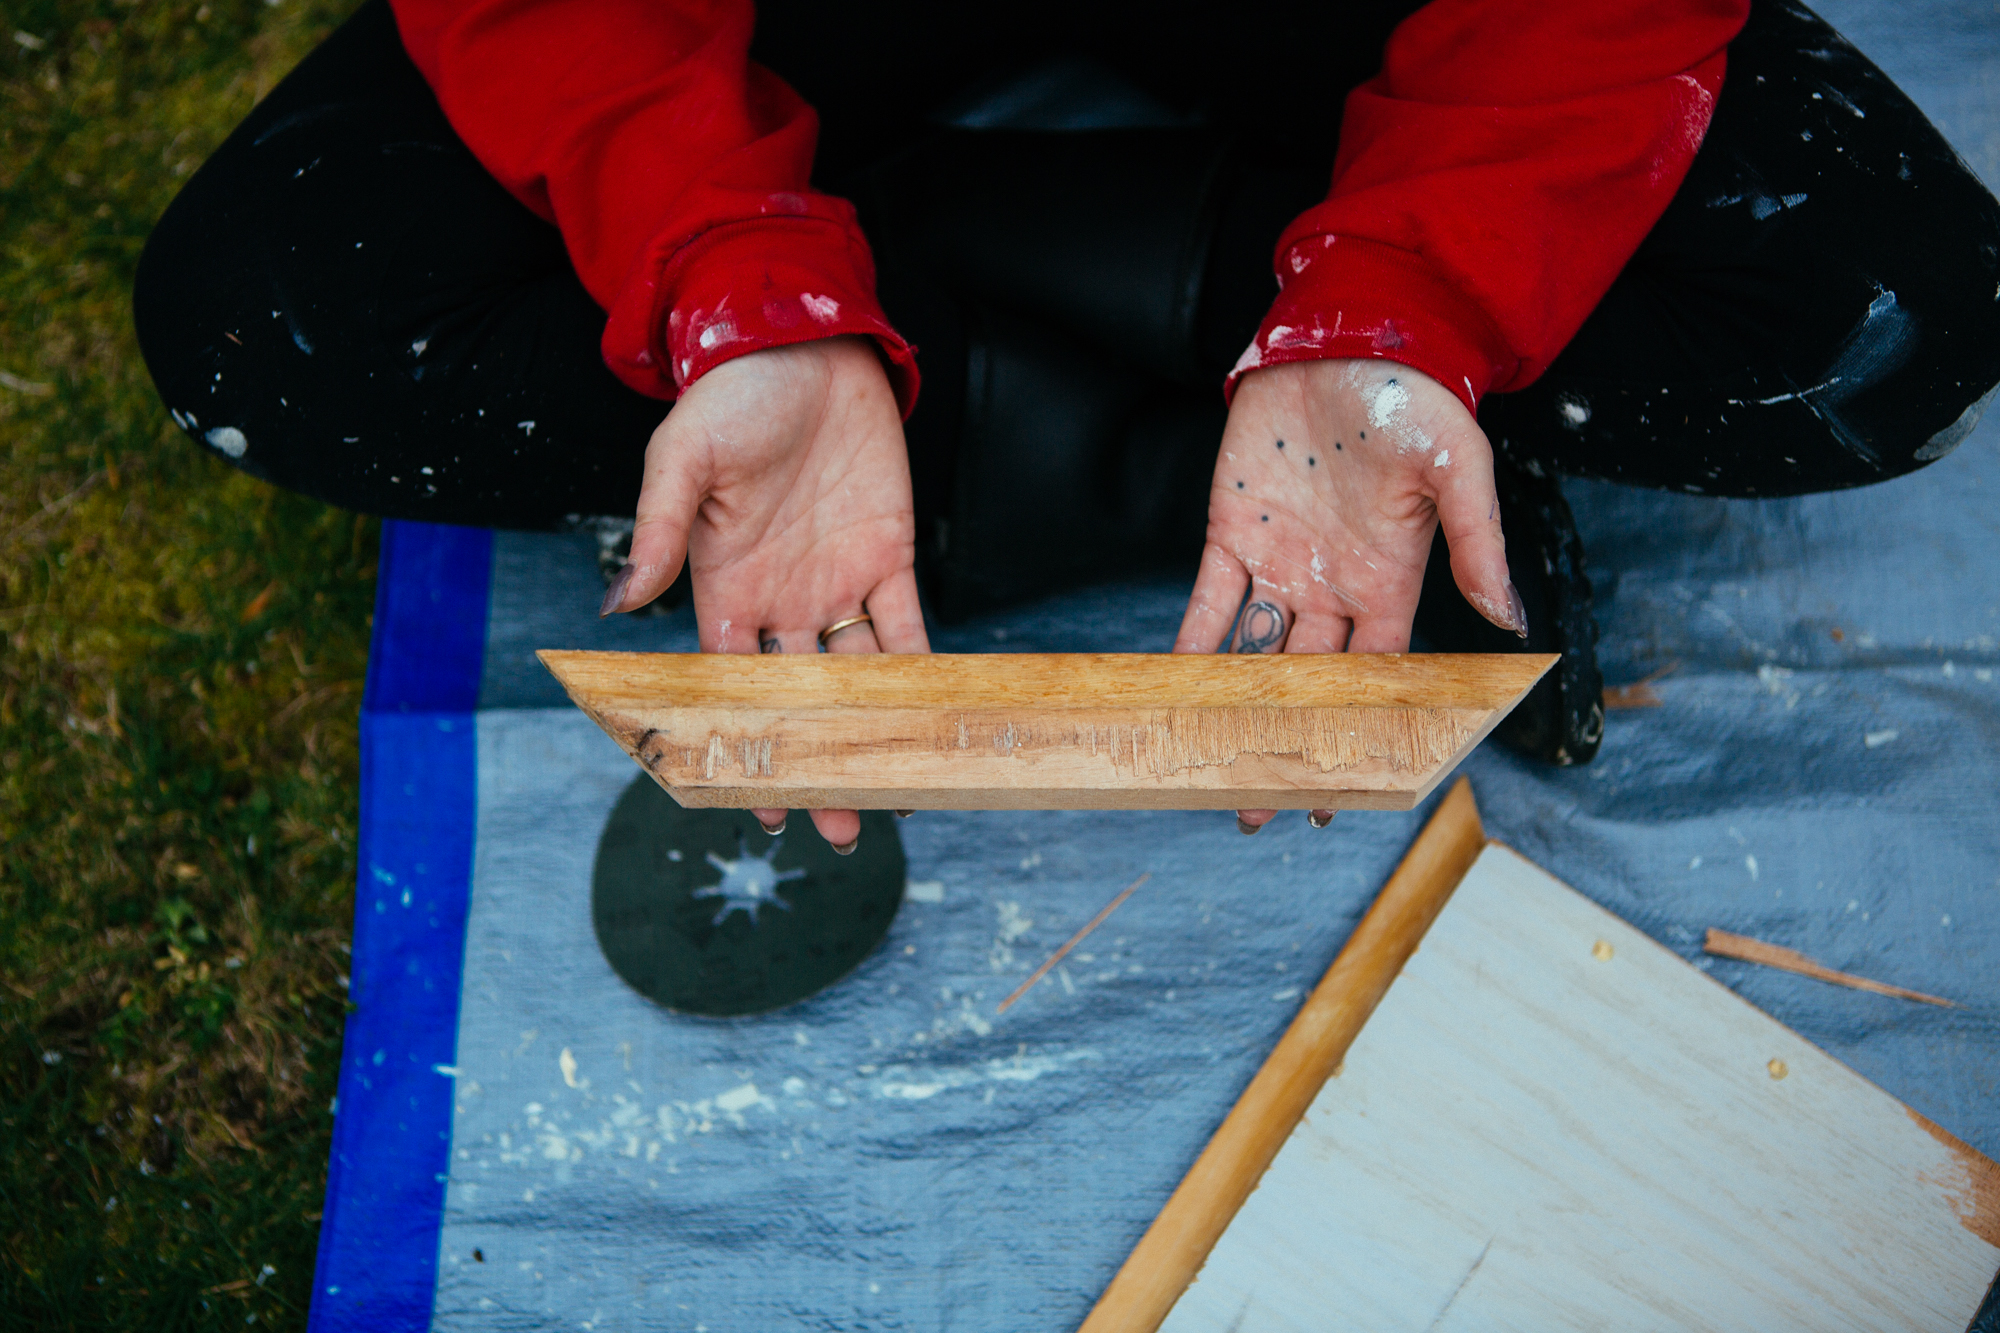
To pull apart the cabinet, Jill first soaked it in extra strength cleaning vinegar, this loosened the glue so that it could be pulled apart without breaking, allowing us to use the complete pieces of trim we needed.
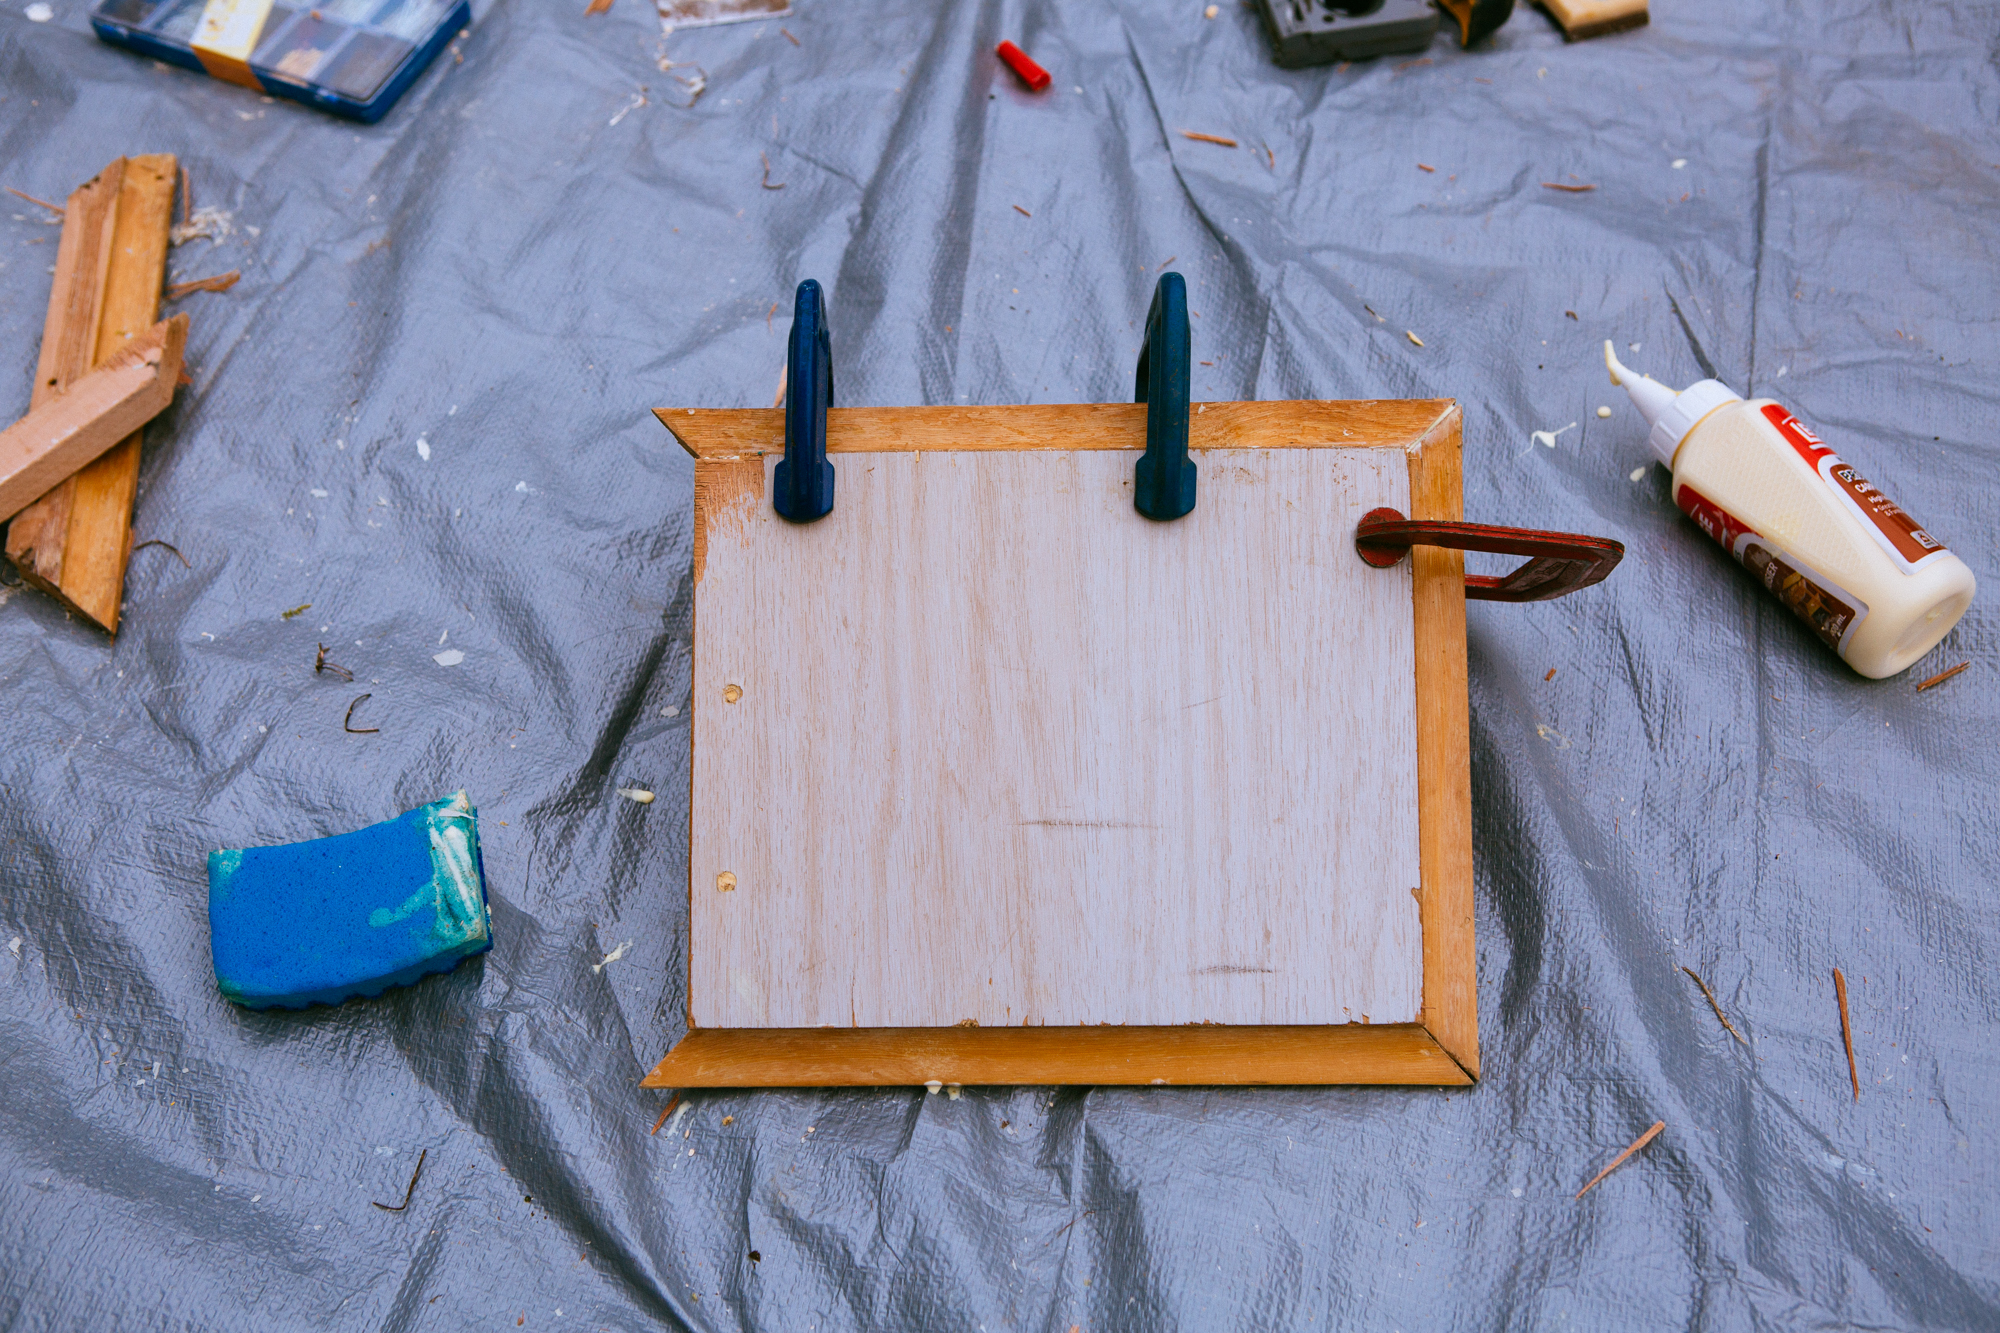
Once the trim was removed and sanded down, it was cut to the necessary size at a 45 degree angle using a mitre saw. From there Jill matched the edges of the trim and used carpenters glue to assemble, using C clamps to hold the pieces in place while the glue dried.
Using wood filler to level out the uneven surfaces, Jill sanded them down before applying the Peel Stop. Once they were primed they were good to go!
We painted the interior starting at the top, working our way down.
We did 2-3 coats where needed and a coat of clear satin poly so we could wipe everything down when it gets dirty, which it will.

It looks so much brighter and bigger in here already!